Vor einigen Wochen sind wir auf Judith und ihren Blog gestoßen, da sie eines unserer Schnittmuster und Nähanleitungen ausprobiert hat und das Ergebnis auf Ihrem DIY Blog Judokus veröffentlichte. Judith ist schon mit jungen Jahren um die Welt gereist, meist in englischsprachigen Ländern und bloggt selbst auch hin und wieder in Englisch. Für uns hat sie unsere Autumn Rockers Nähanleitung in Englisch aufgearbeitet, damit auch wir den Kreis unserer Leser, vor allem in Englisch, erweitern können.
Baby shirt sewing patterns – toddler shirt
This ist a super cute sewing pattern for a baby raglan shirt. So here I present you the instruction they gave us in german, for you in english.
Order the sewing pattern
Before you can start you should order the sewing pattern for the baby shirt here: https://www.einzigartig.shop/search?q=autumn+rockers
Decide for yourself how much you want to pay for the baby shirt sewing pattern and put the pattern in your shopping basket:
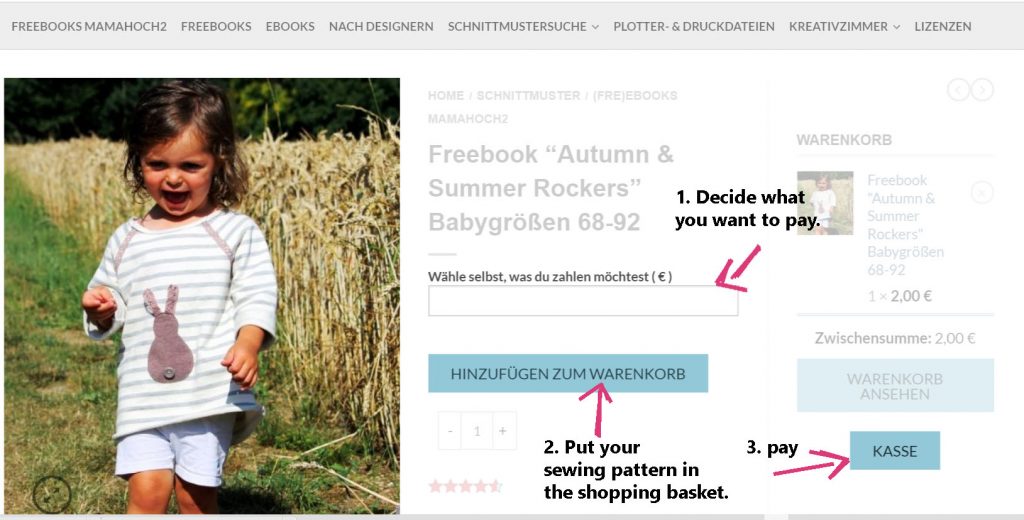
If you would like to pay with PayPal, please pay more than 1.50 € otherwise the charge of 0,35 Cent for PayPal and the taxes would be higher than what the 2 girls would earn.
After you clicked on „Kasse“ enter your adress details and click on „Weiter zu Schritt 2“ (step 2). Choose how you would like to pay (giropay or PayPal) and click on „Weiter zu Schritt 3“. Check the first and second check box (General Terms and Conditions and Instructions to law).
Enough of the theory, lets start sewing the toddler shirt!
The baby raglan shirt is an absolute basic pattern. It allows you to sew just a simple shirt. However, you can add a few highlights here and there to make it quite an extraordinary one.
That is what you’ll need:
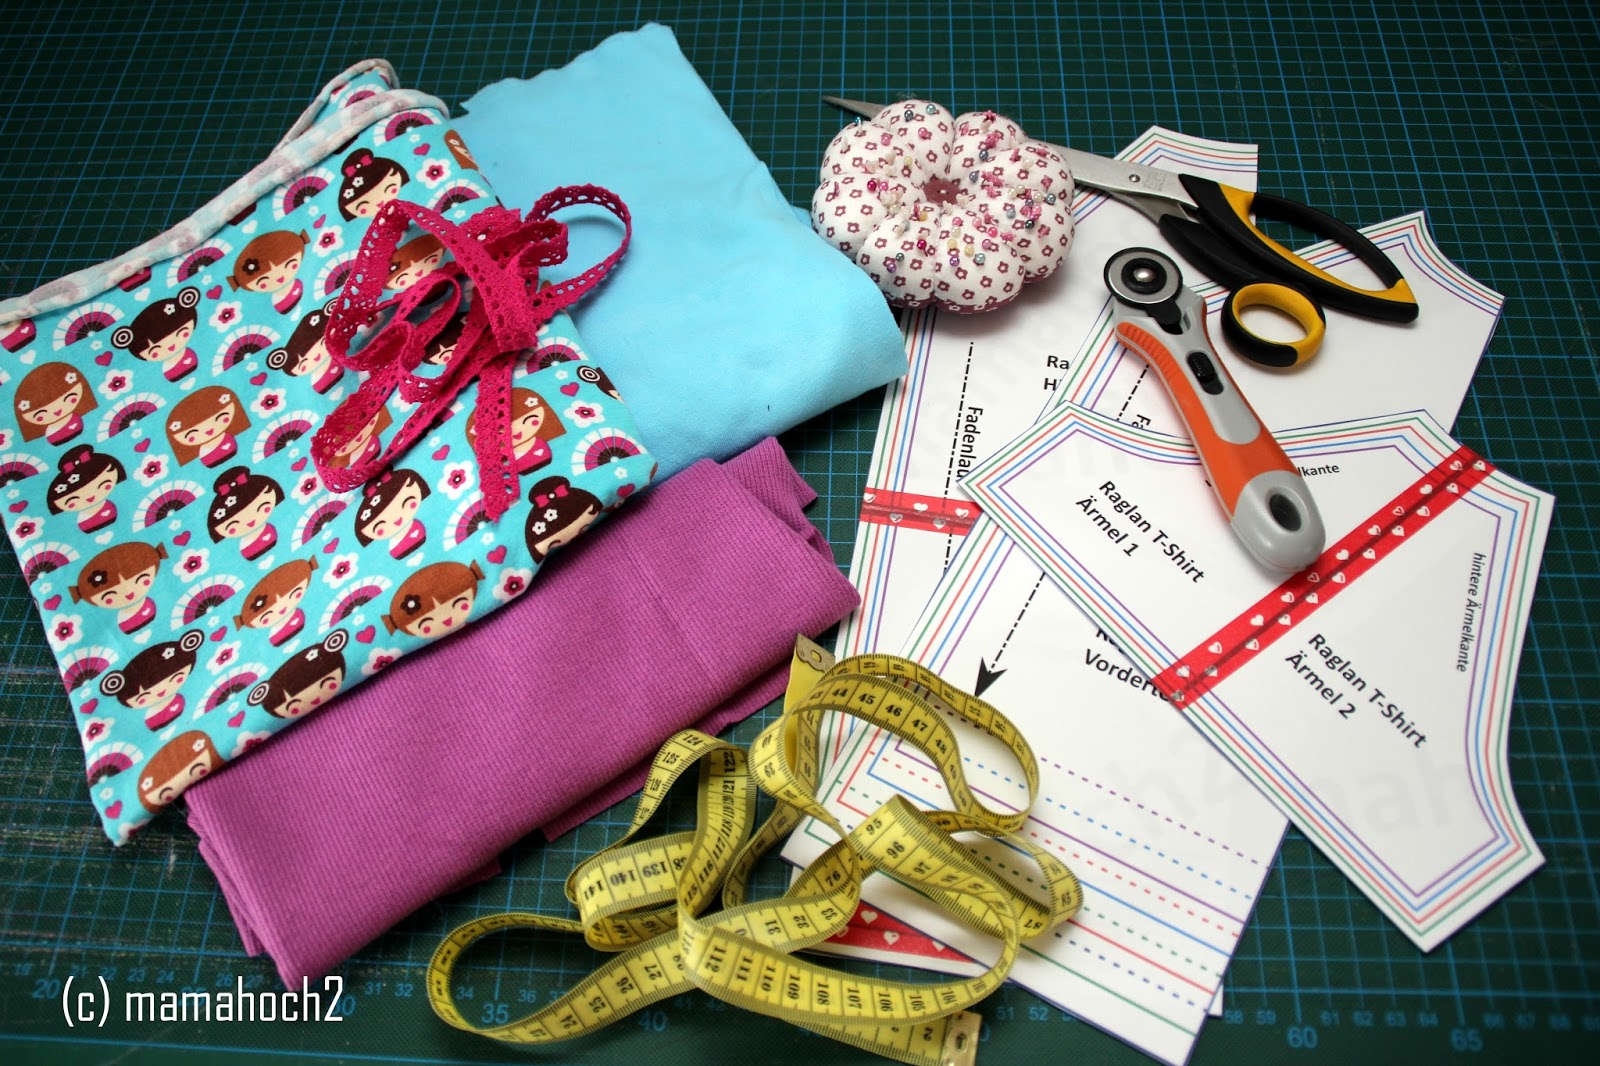
Sewing instruction for the baby shirt
Translations for the pattern:
- „Hier abschneiden“ means „cut it here“
- „Hier ankleben“ means „stick it here“
- „Vordere Ärmelkante“ means „front edge of the sleeve“
- „Hintere Ärmelkante“ means „back edge of the sleeve“
- „Kürzere Version“ means „Shorter version for the hem“
Print the pattern and stick it together according to the labels.
Cut your desired size (from 68 up to 92). This pattern is without seam allowance. The dotted line is for the cuffs, the long one for seaming.
Quantity of substance:
The information concerning the material consumption are approximate. It is recommended that you buy a little more material. The cm are the full width of the fabric times the height. For the width it is recommend to use 150 cm. For example:
Size 68 -40 cm x full width of fabric approx. 150 cm
Size 74 -40 cm x full width of fabric approx. 150 cm
Size 80 -50 cm x full width of fabric approx. 150 cm
Size 86 -50 cm x full width of fabric approx. 150 cm
Size 92 -50 cm x full width of fabric approx. 150 cm
Tailor the fabric:
We need a front piece, a back piece and two sleeves. Fold the fabric so that the front and back of the fabric will lay on the center fold. As seen in the image below:
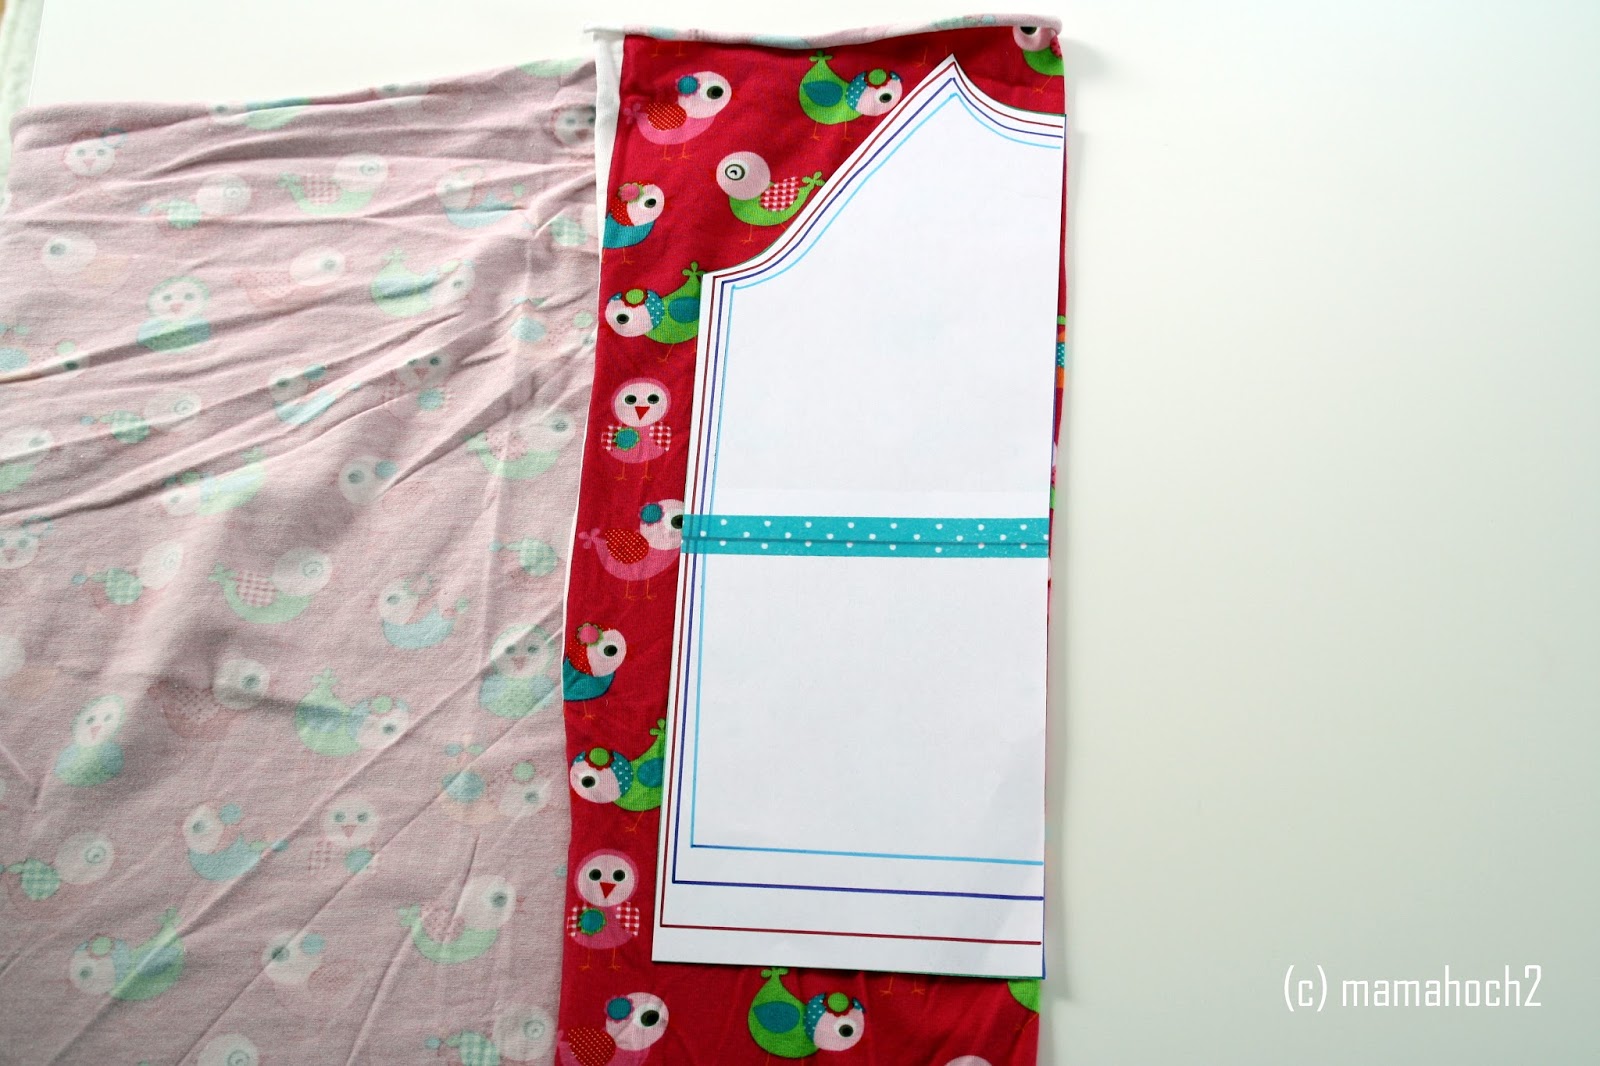
Cut the fabric with a seam allowance of approximately 0.75 cm – 1 cm. Don’t add seam allowance at the neckline and at the hem.
Cut the sleeves twice mirrored: Just lay your fabric doubled and cut the sleeves twice (as seen in the image below). Don’t add seam allowance on the neckline and the hem here as well.
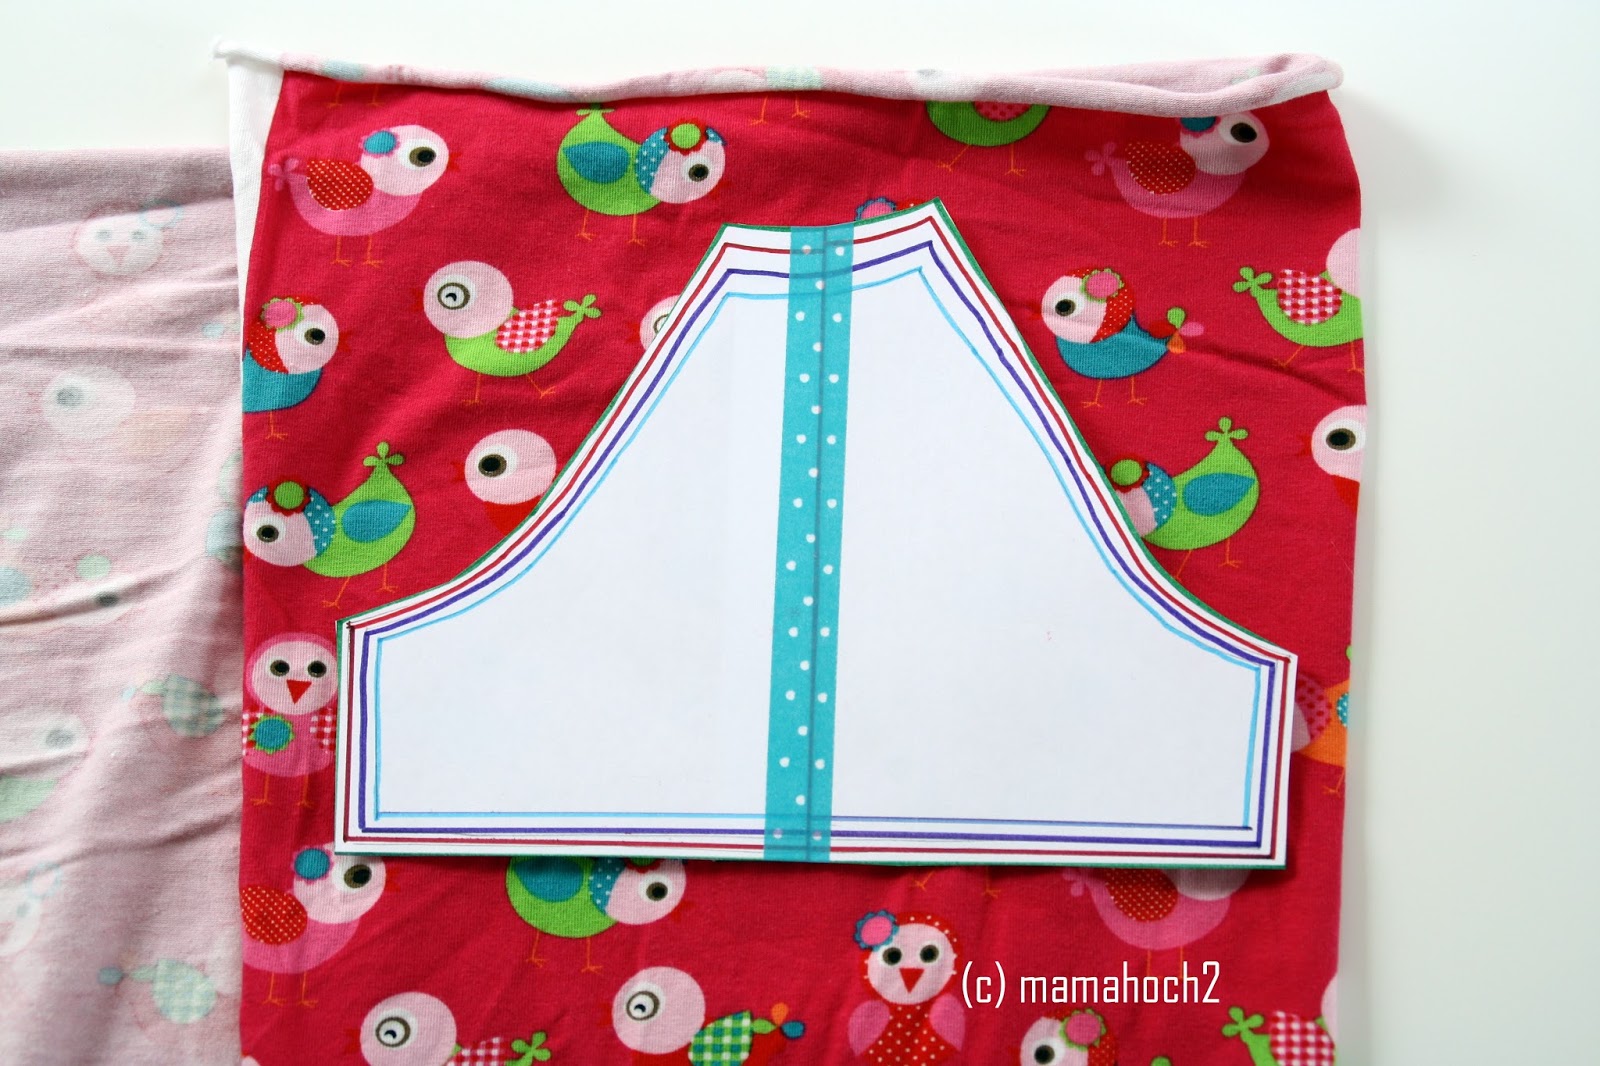
Now you should have this 4 pieces:
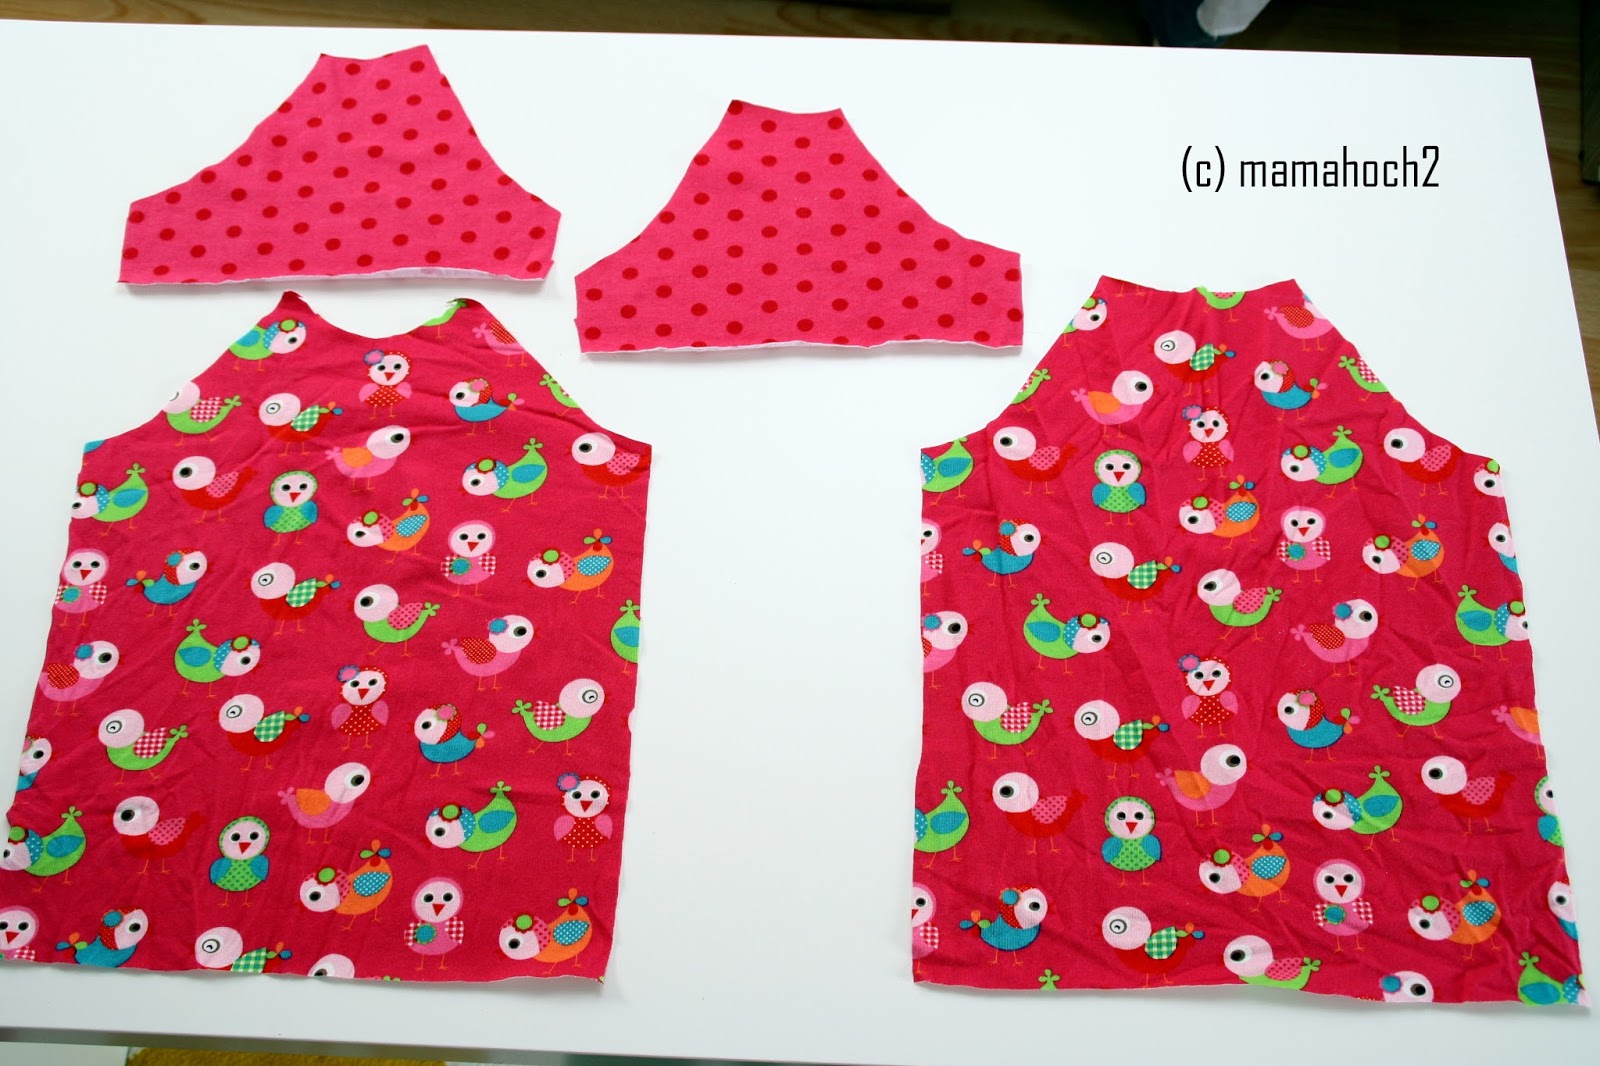
Sew the baby shirt
Take the front piece and a sleeve piece. Put the the sleeve right on right on the front piece. Be aware that you sew the front edge of the sleeve on the front piece.
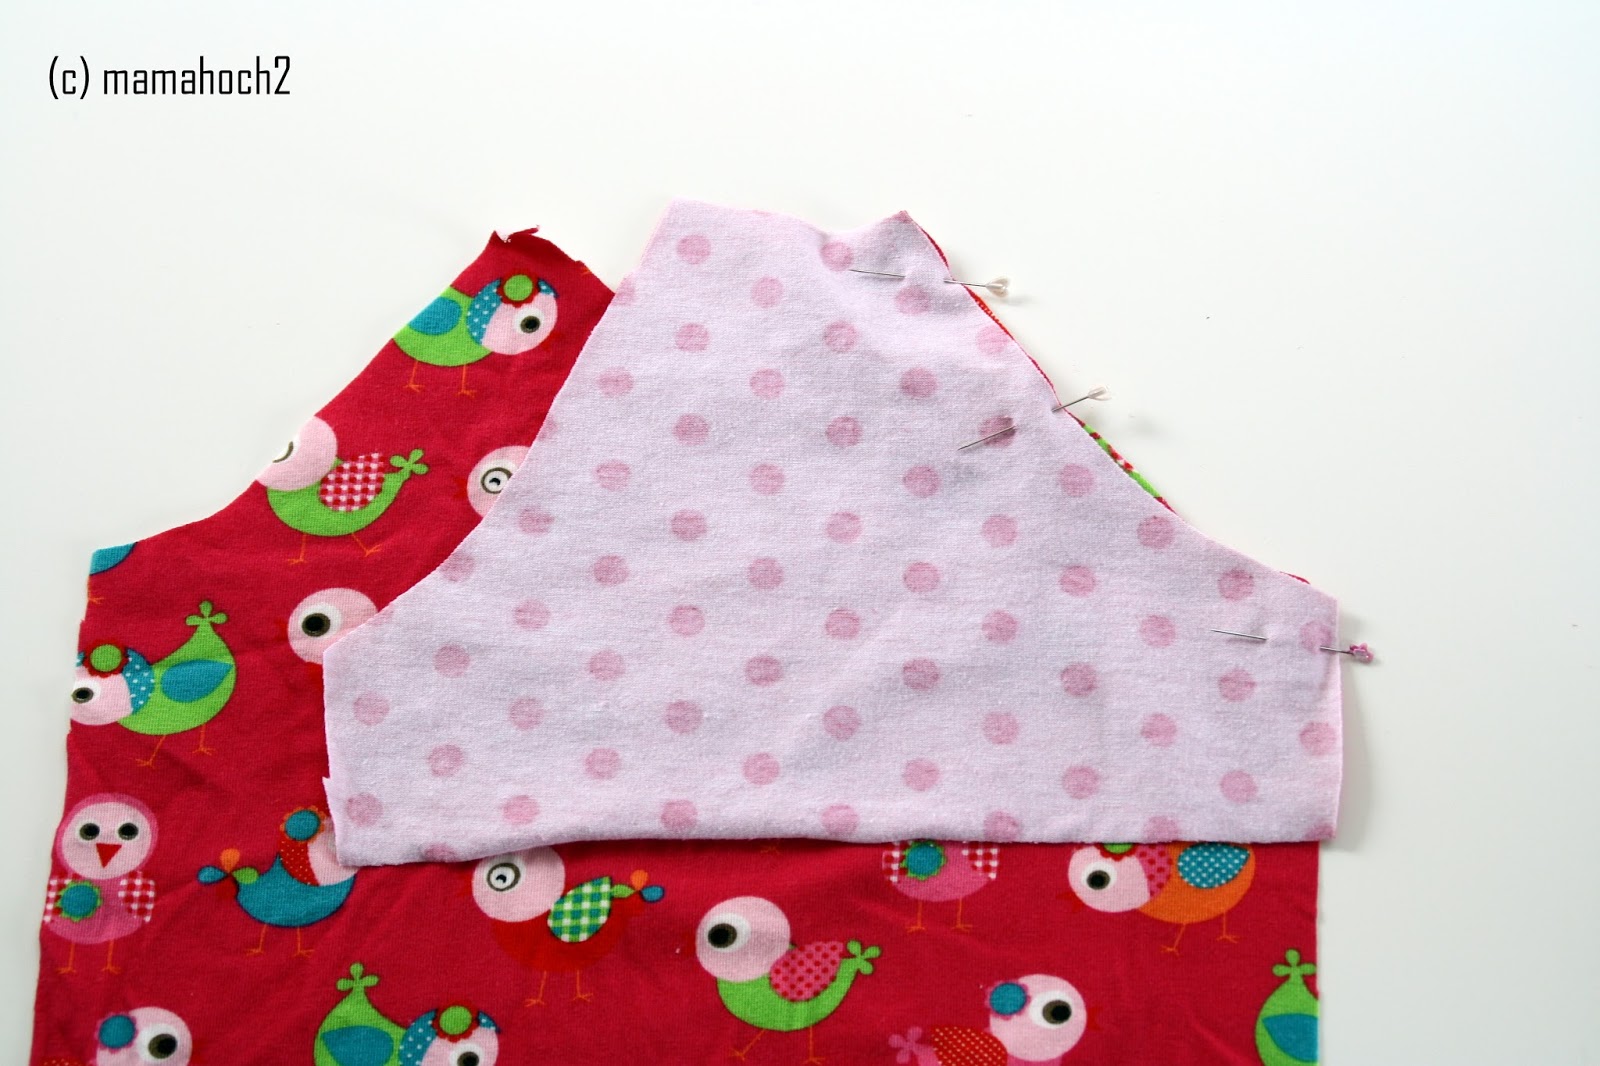
Do the same with the other sleeve piece:
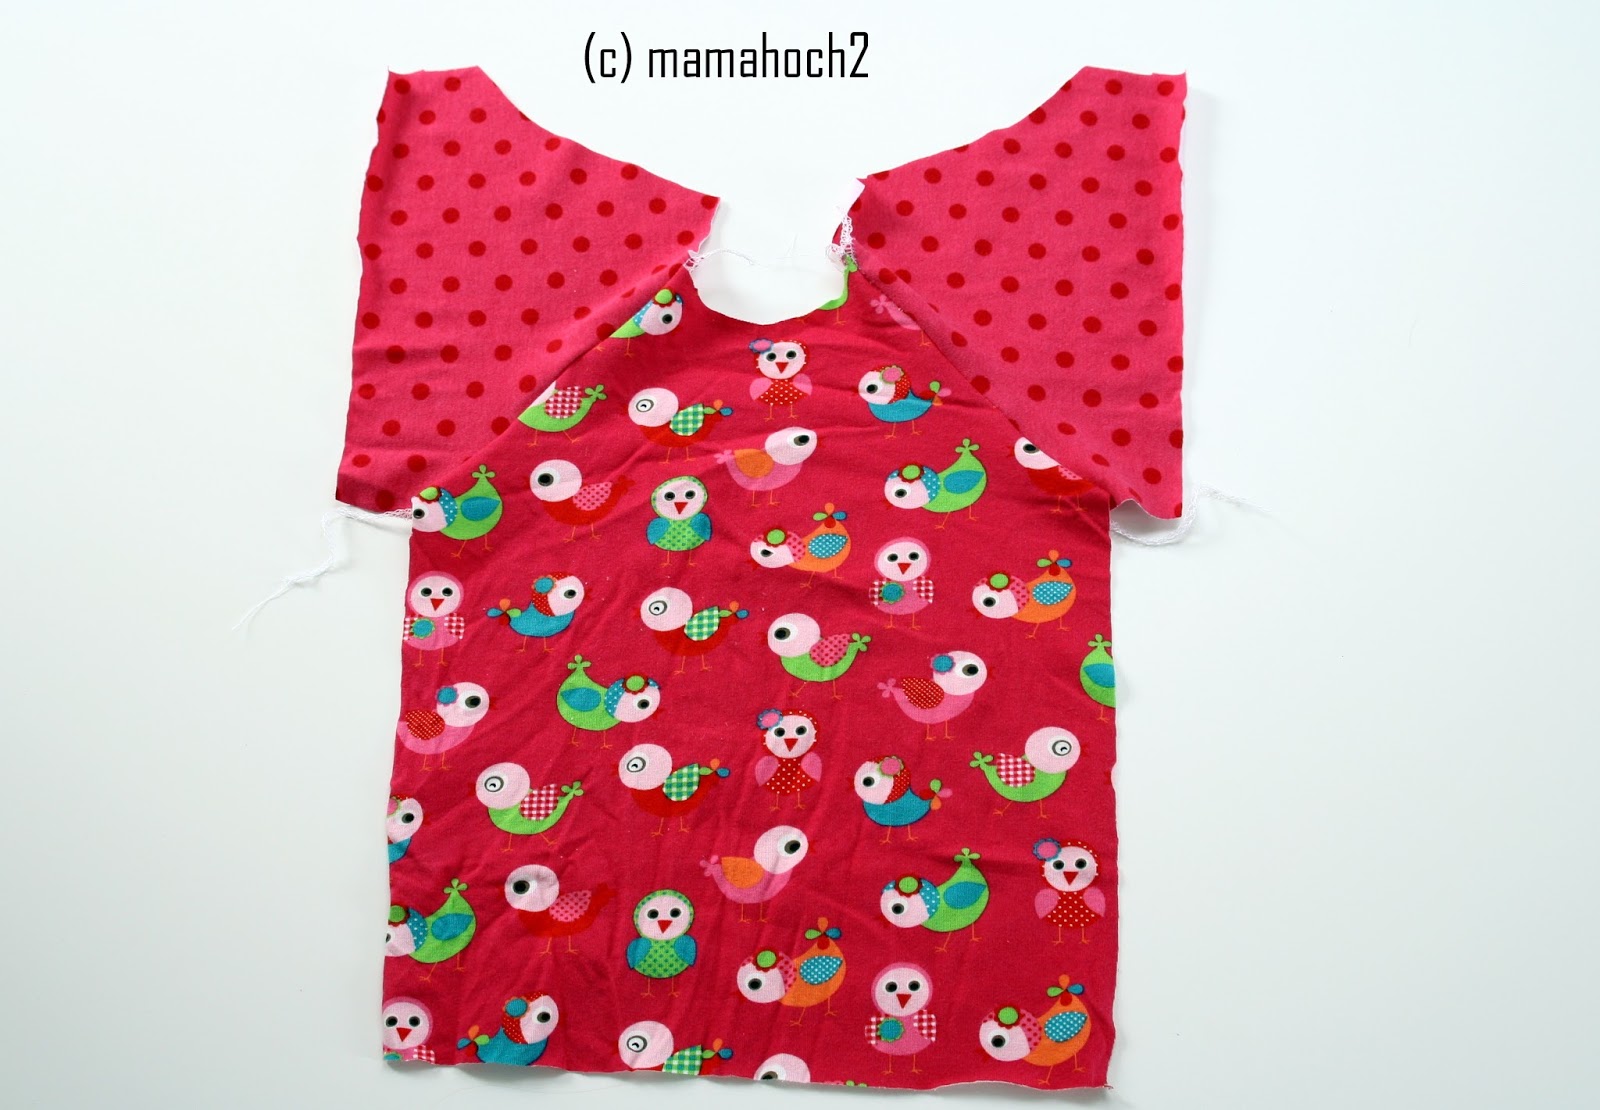
Do the same with the back piece:
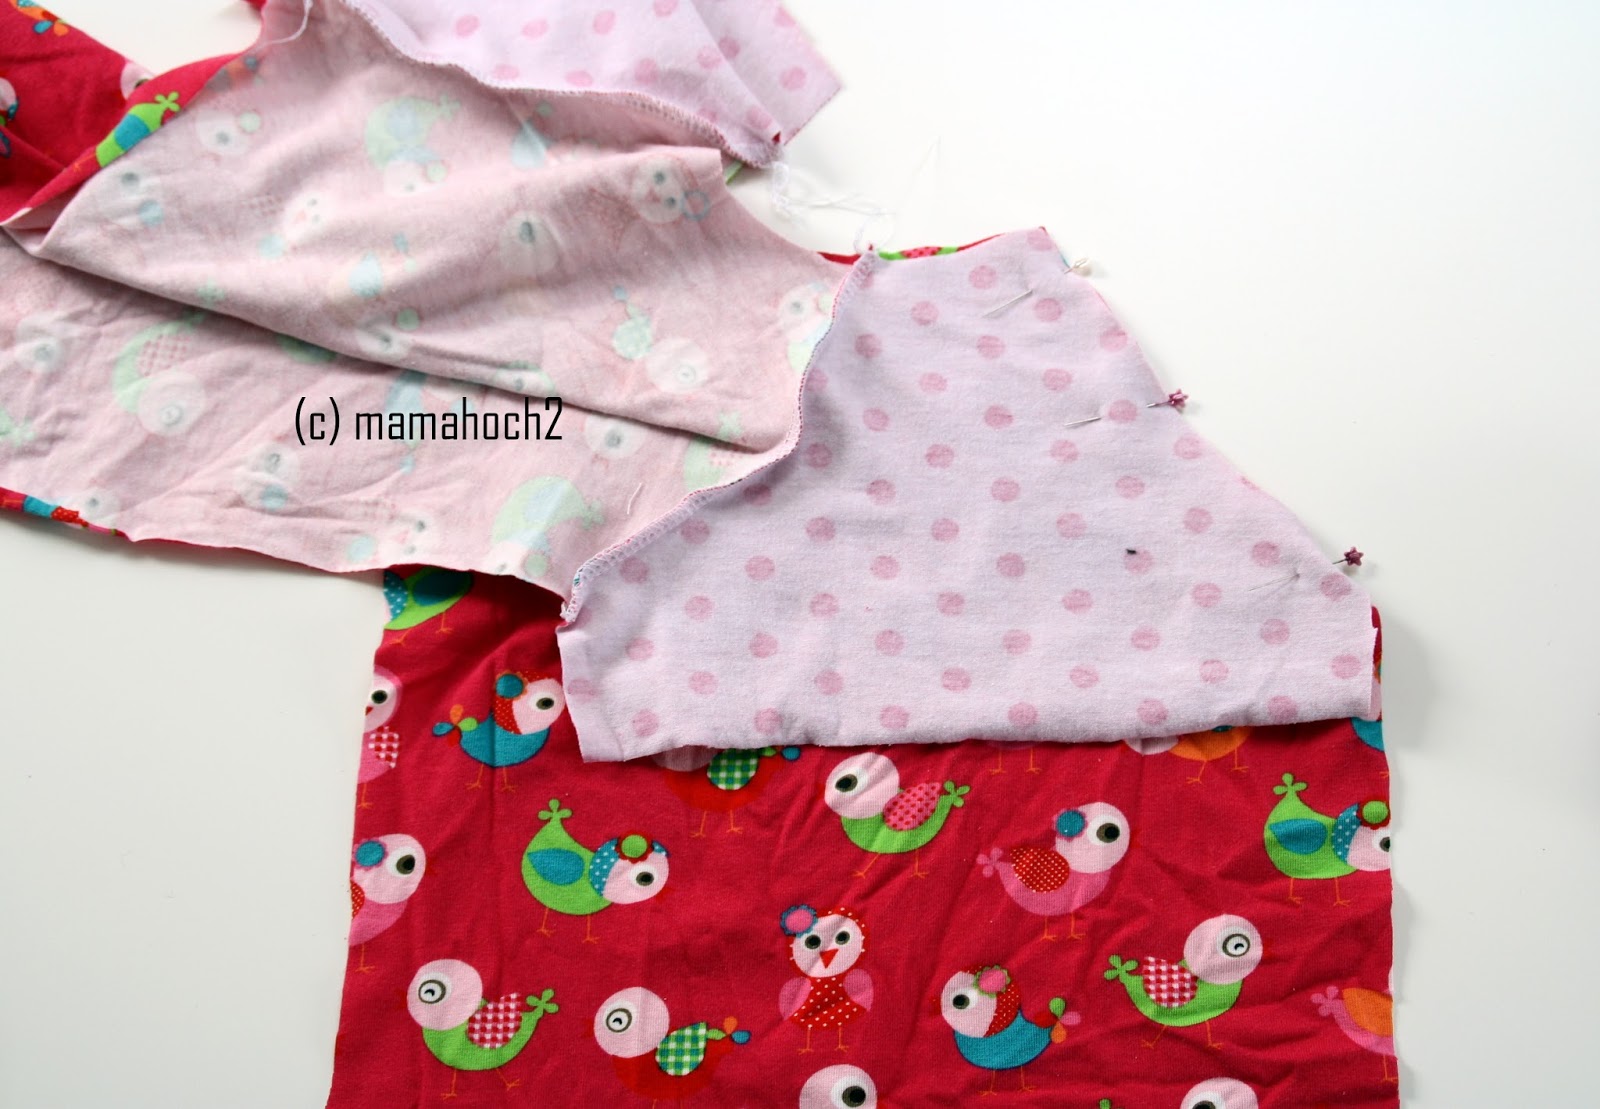
Now fold the shirt right on right and sew the shirt along the arrows as shown in the picture:
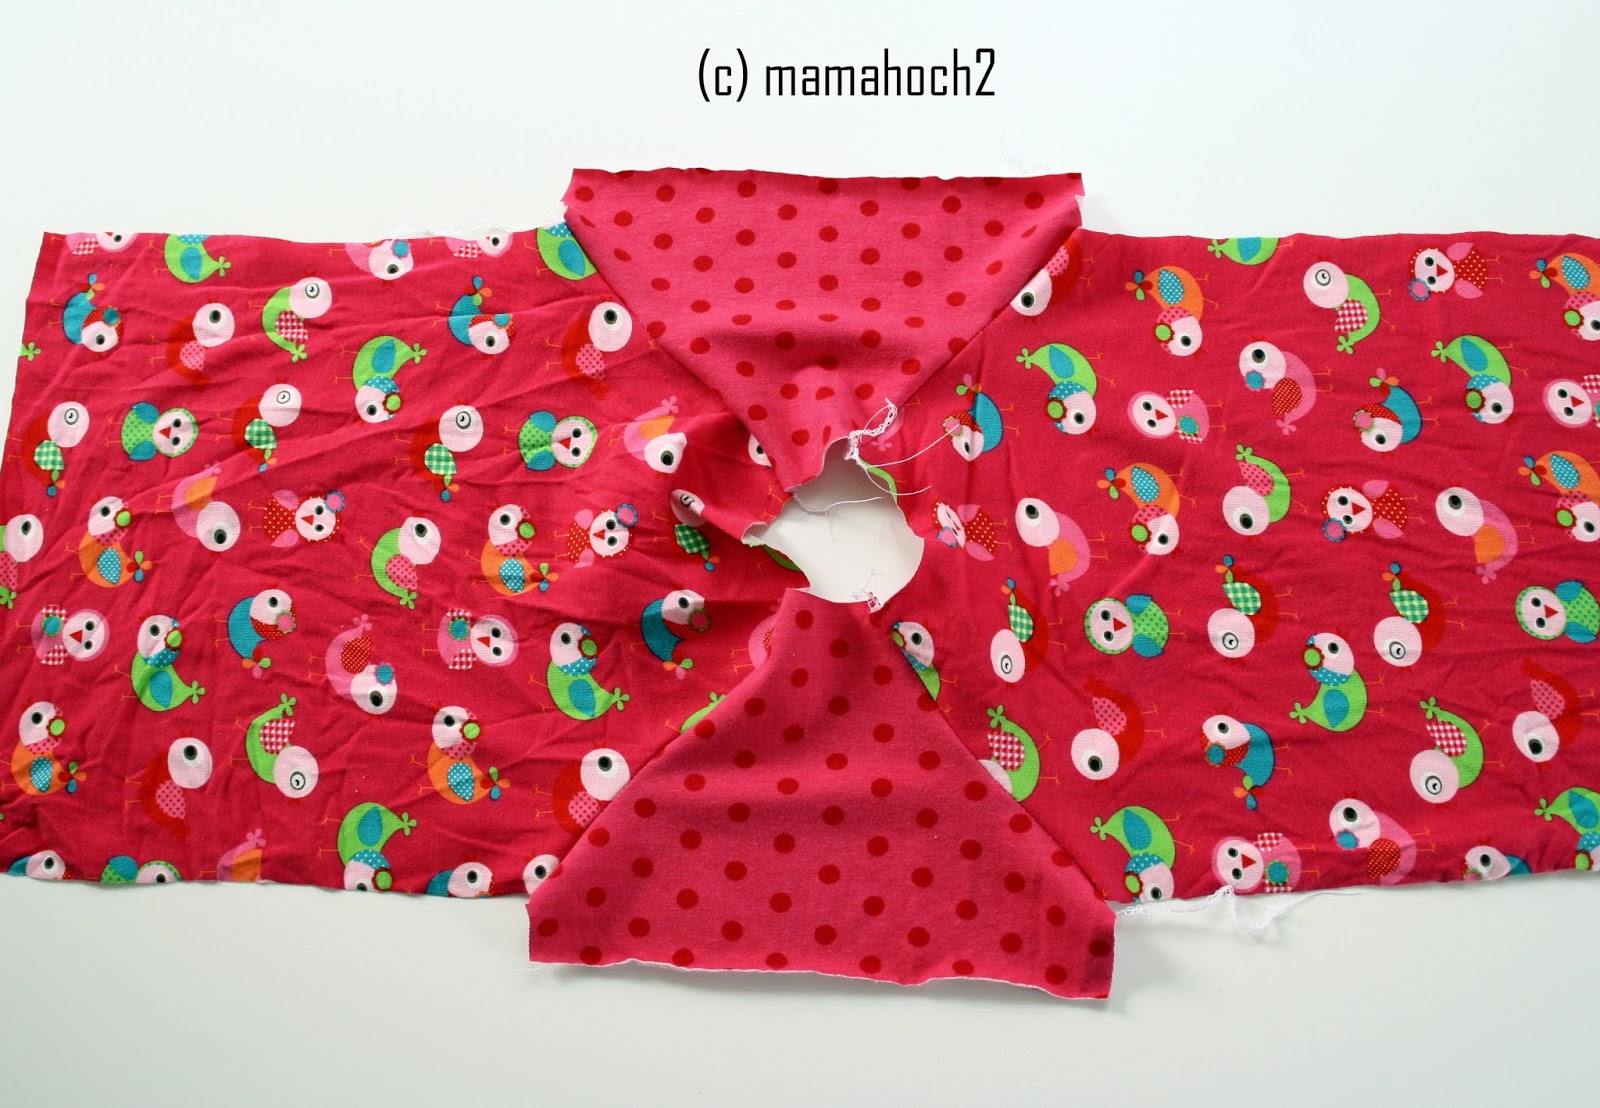
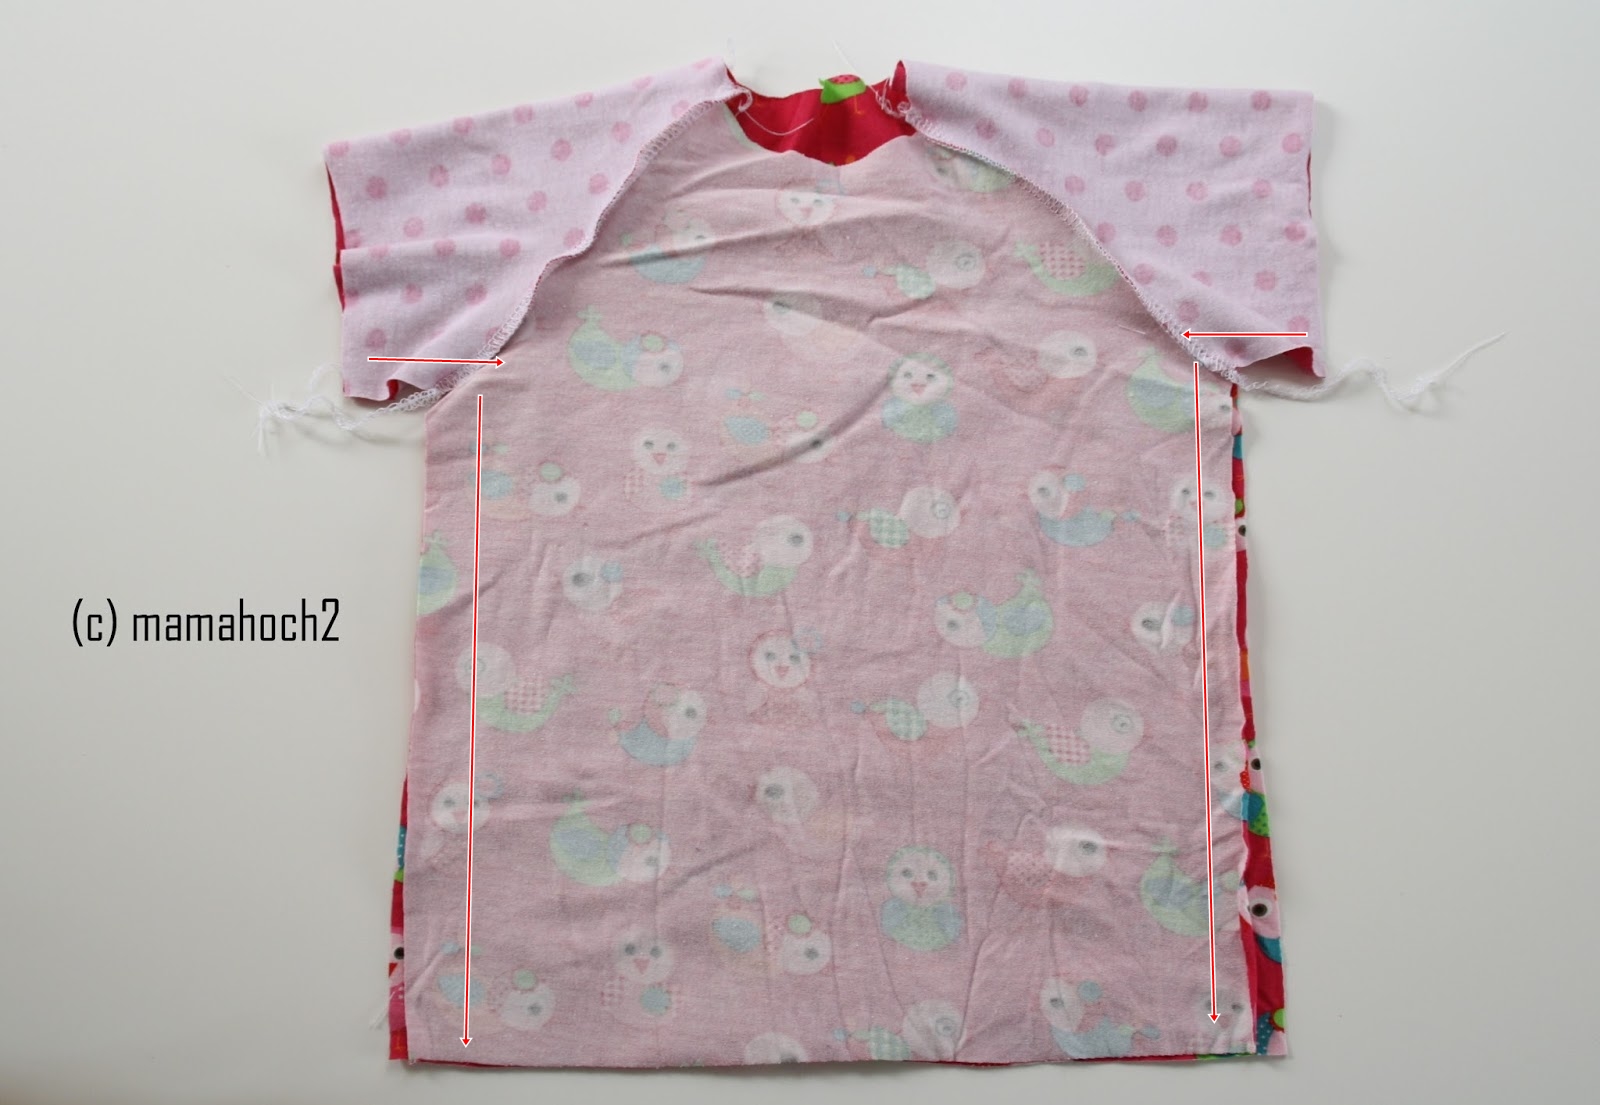
Use a straight stich for seam. I would recommend to use an extra zig-zag stitch for the seam to make it more robust.
When you turn the baby shirt, you’ll see an almost perfect T-Shirt already.
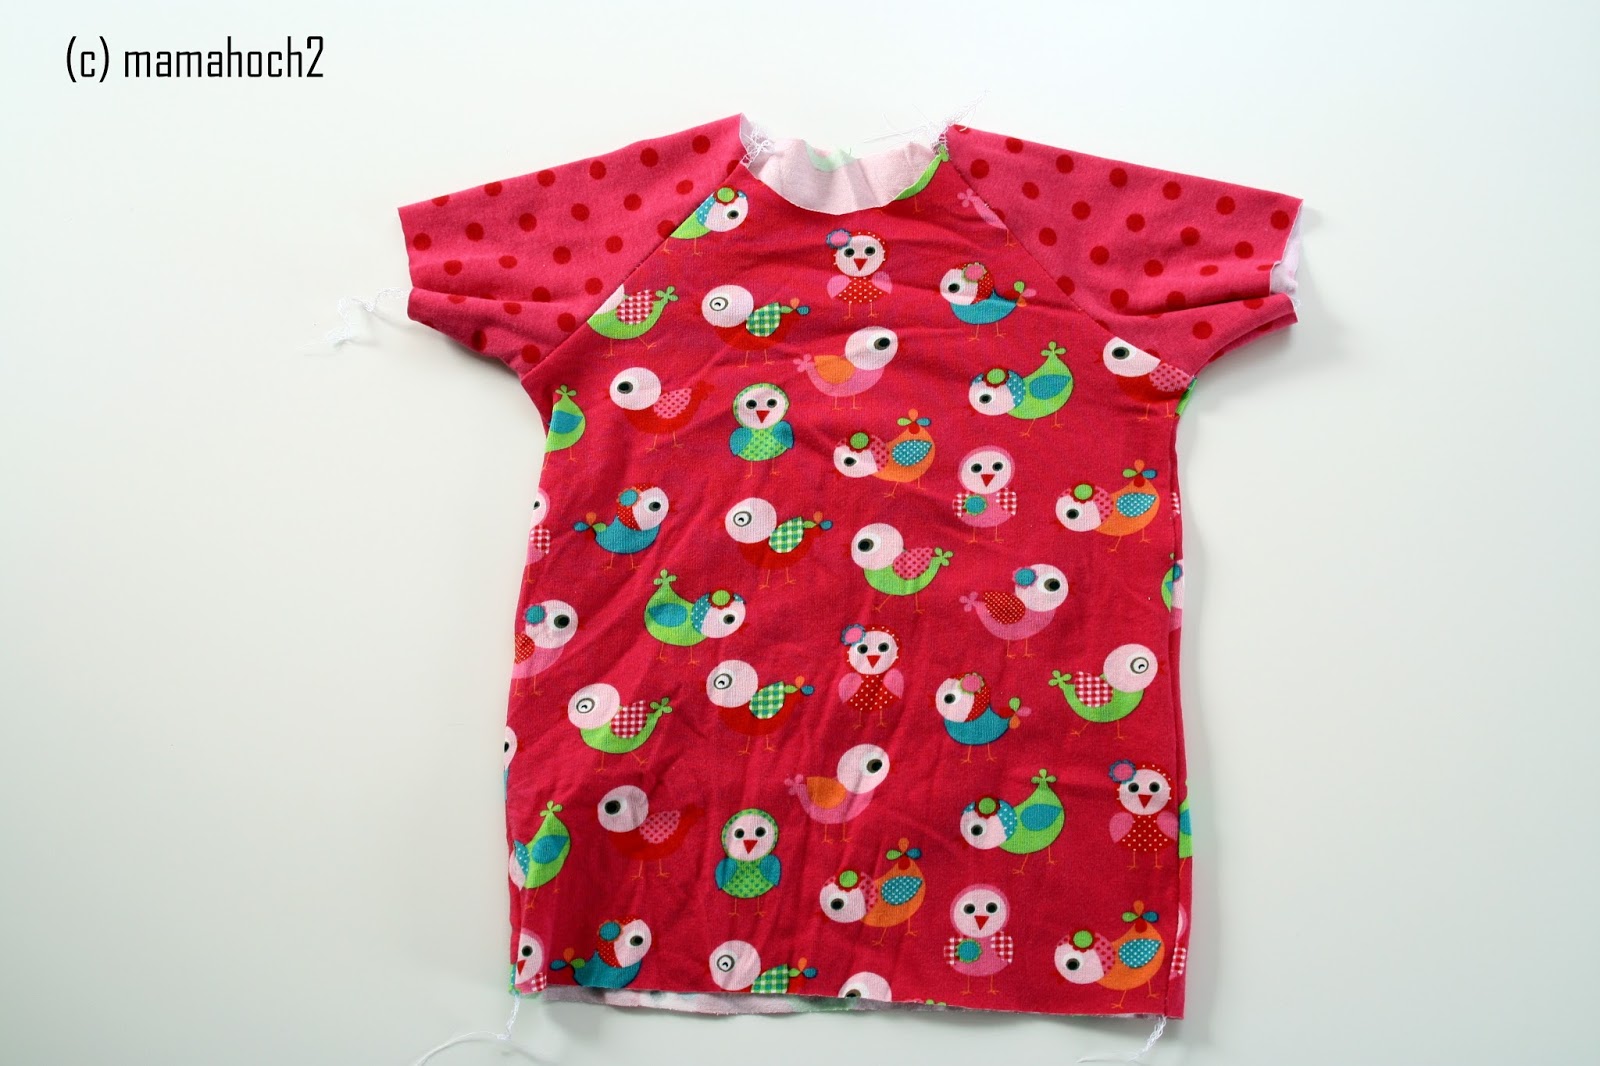
Just ‚almost‘, we need the cuffs! 🙂
Sewing the Cuffs
As there are different elastic cuff fabrics and the fact that the seam allowance varies from shirt to shirt, there is no measurements indicated. The girls from mamahoch2.de simply calculated the cuff length based on their sewing experience.
Cuff for the hem
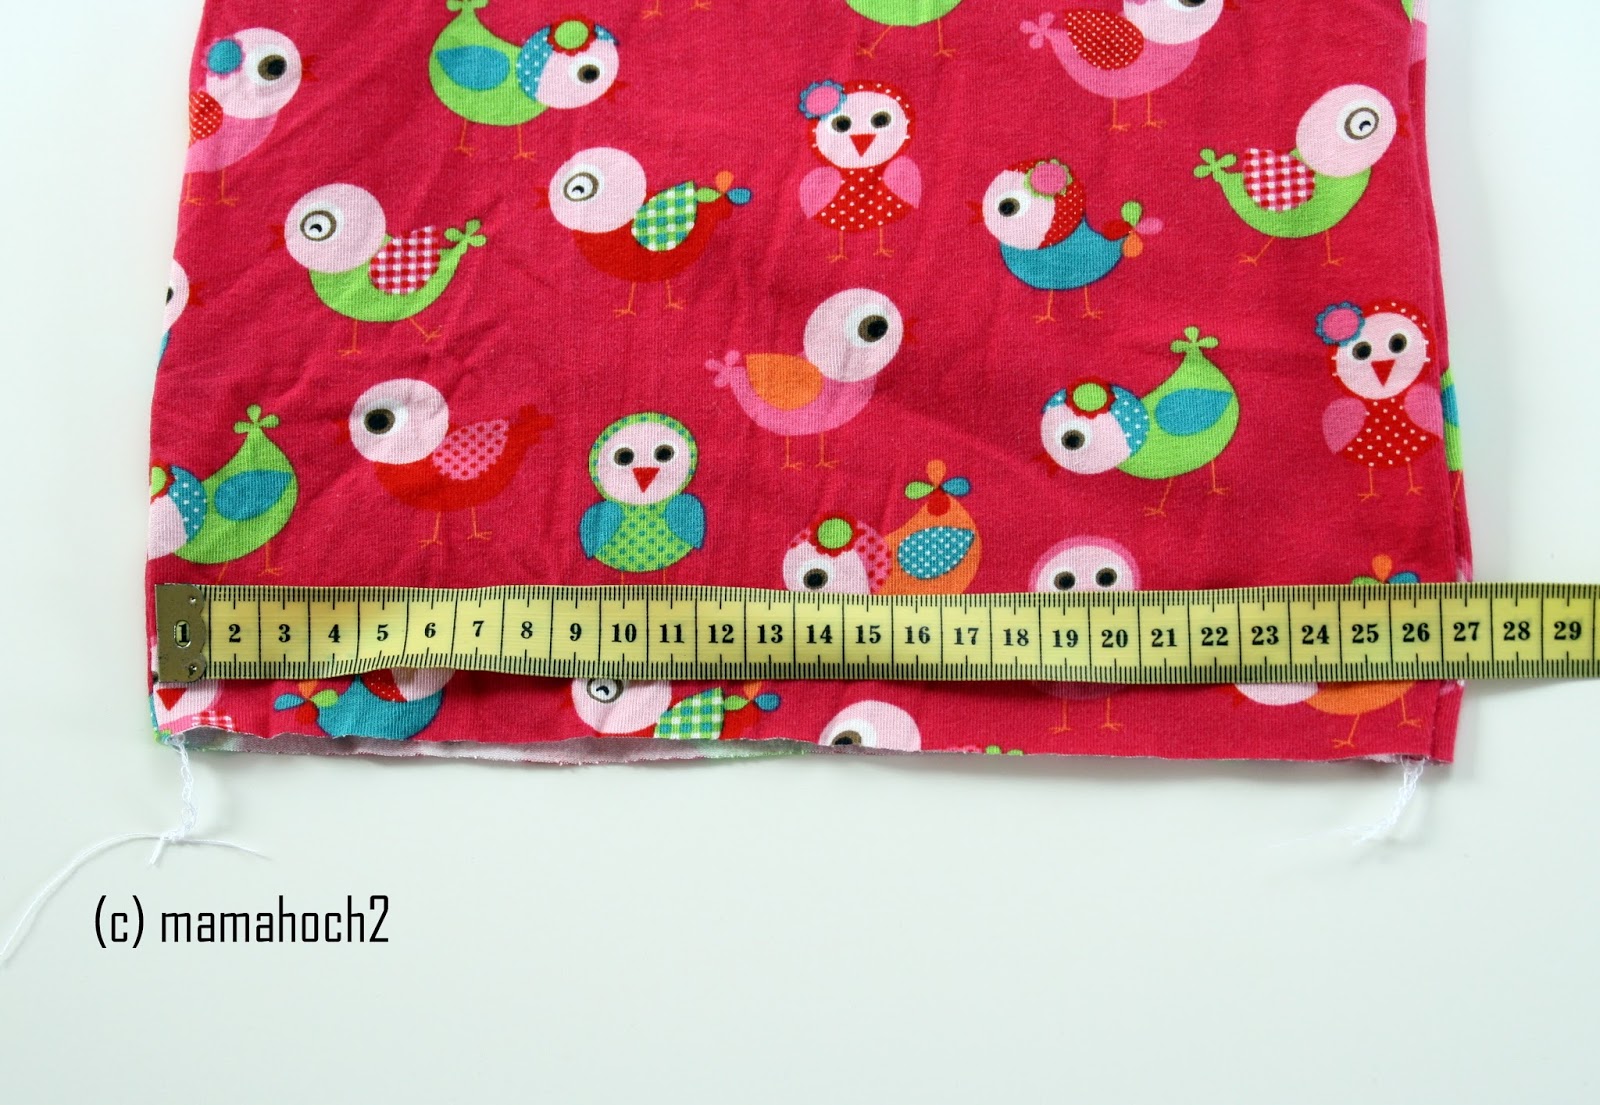
Take the measuring tape and measure the circumference of the hem. In my example, the circumference is 54 cm. Subtract 4 cm. So my cuff is 50 cm long and 8 cm high. The height is variable. Cut the cuff according to your measure ments and fold it right on right. Sew the site seam as you can see in the image below:
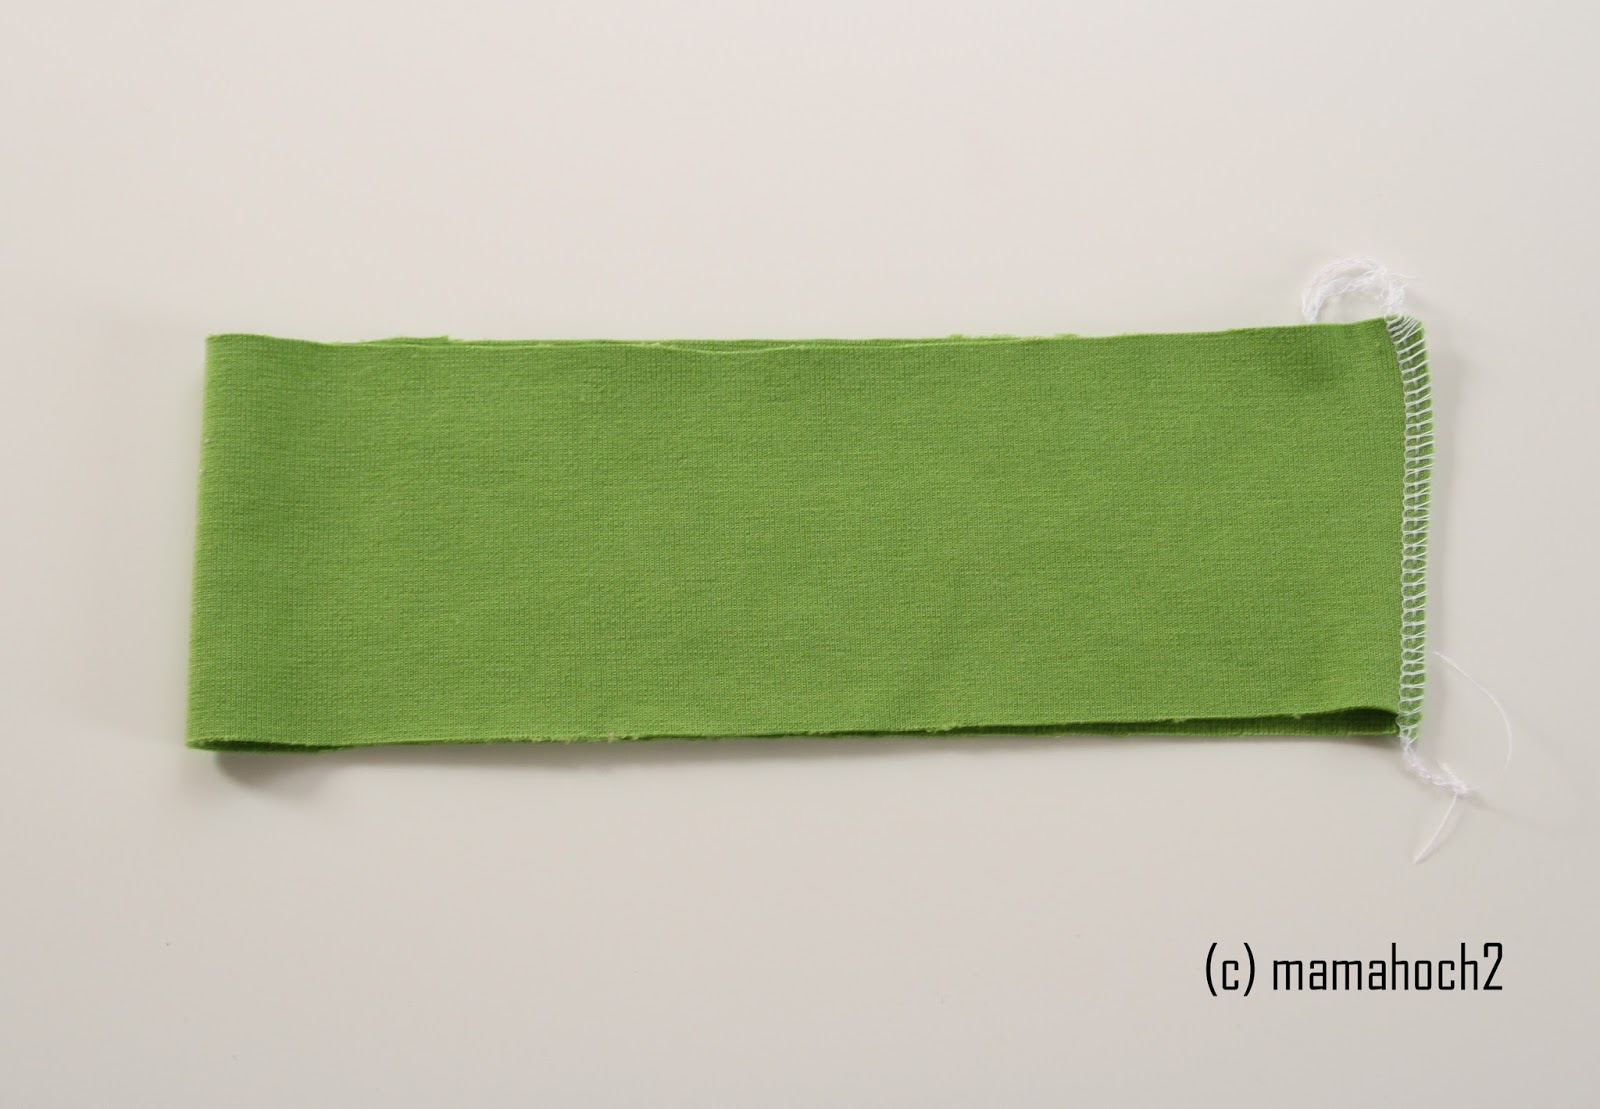
Fold the cuff half around – now you’ll see the beautiful site:
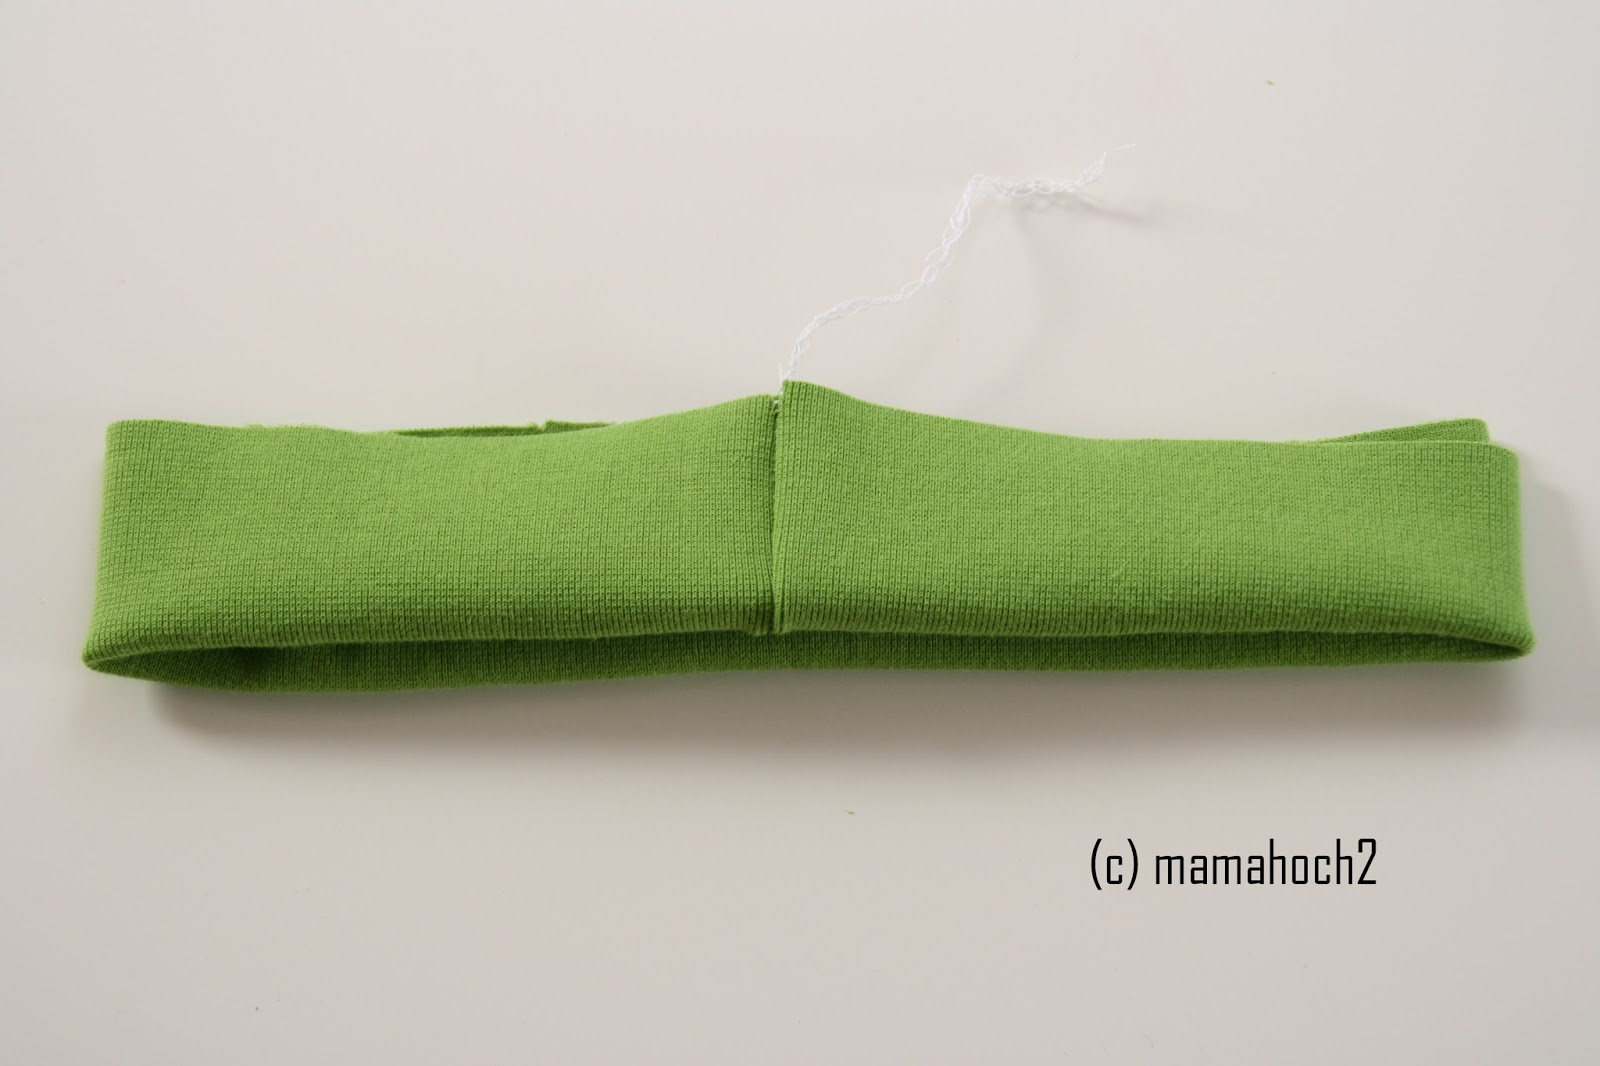
Take the cuff like this and put it over the hem of the shirt. Attach it with needles. All openings will point down:
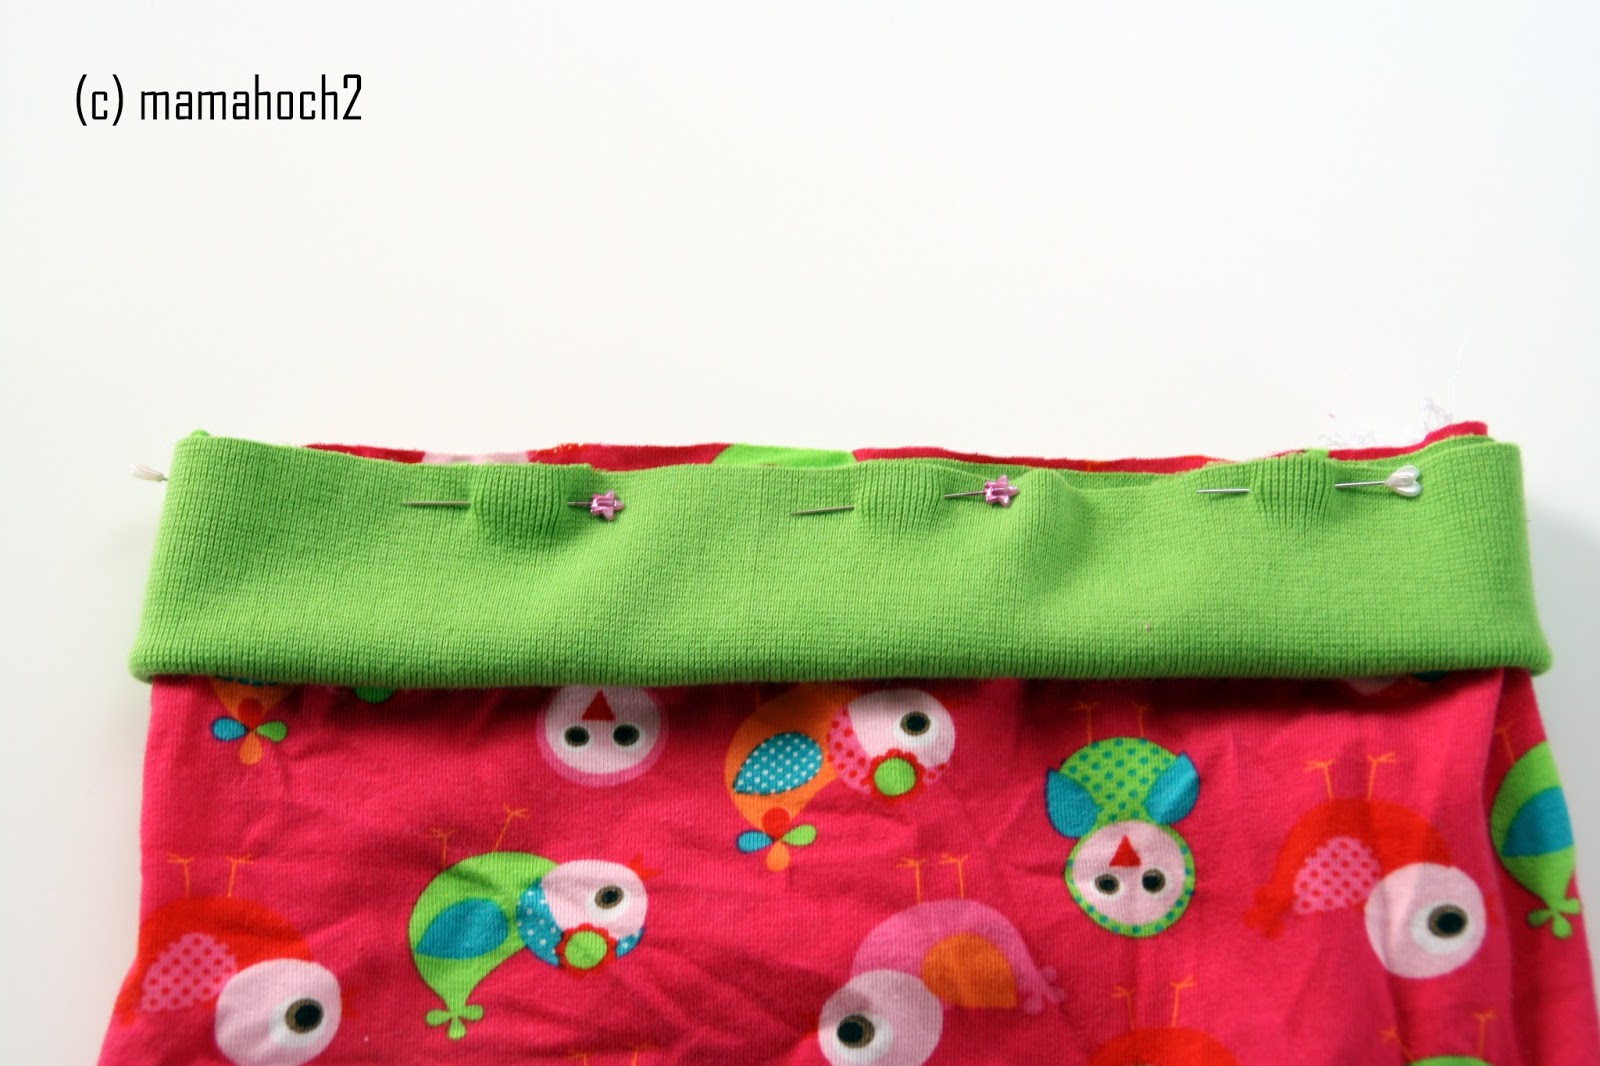
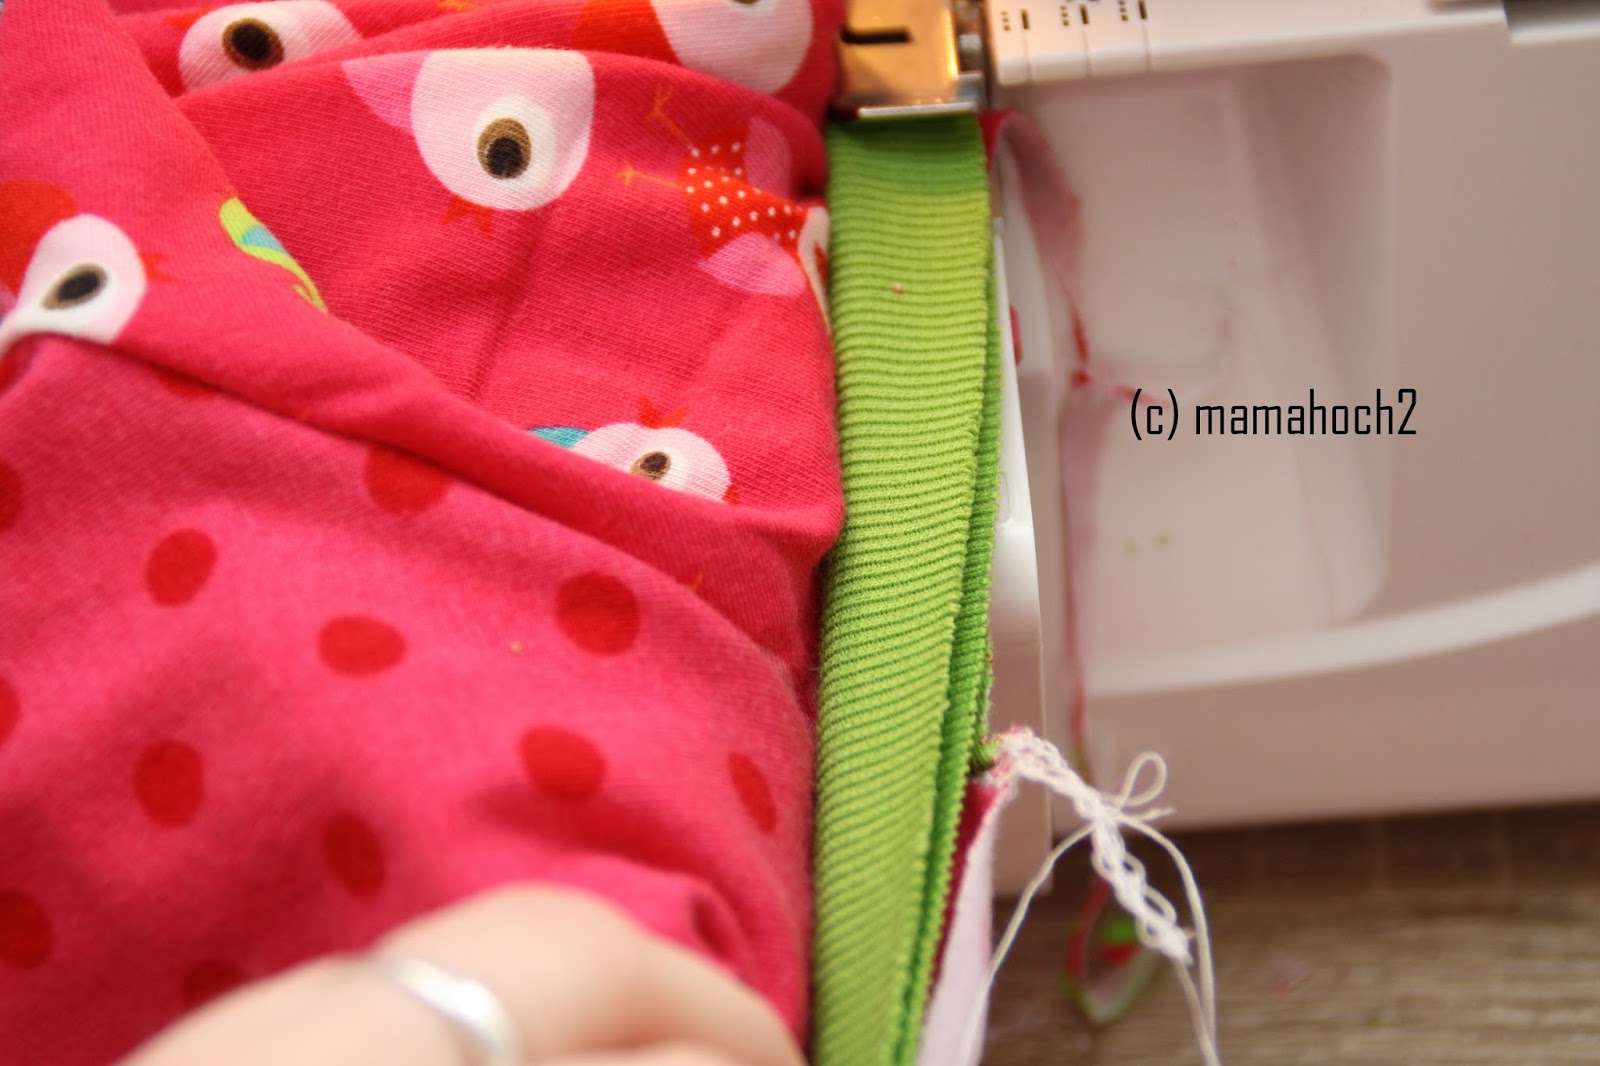
Now sew the cuff under slight tension.
Cuff for the neckline
Determine the size of the neck opening and multiply this number by 0.7. For example, 33 cm circumference x 0.7 = 23 cm. So, the cuff is 23 cm long and 4 cm high. Caution: Babies don’t like it so much to get something pulled over there head. So do not make the cuff higher than 4 cm and choose a very stretchy cuff.
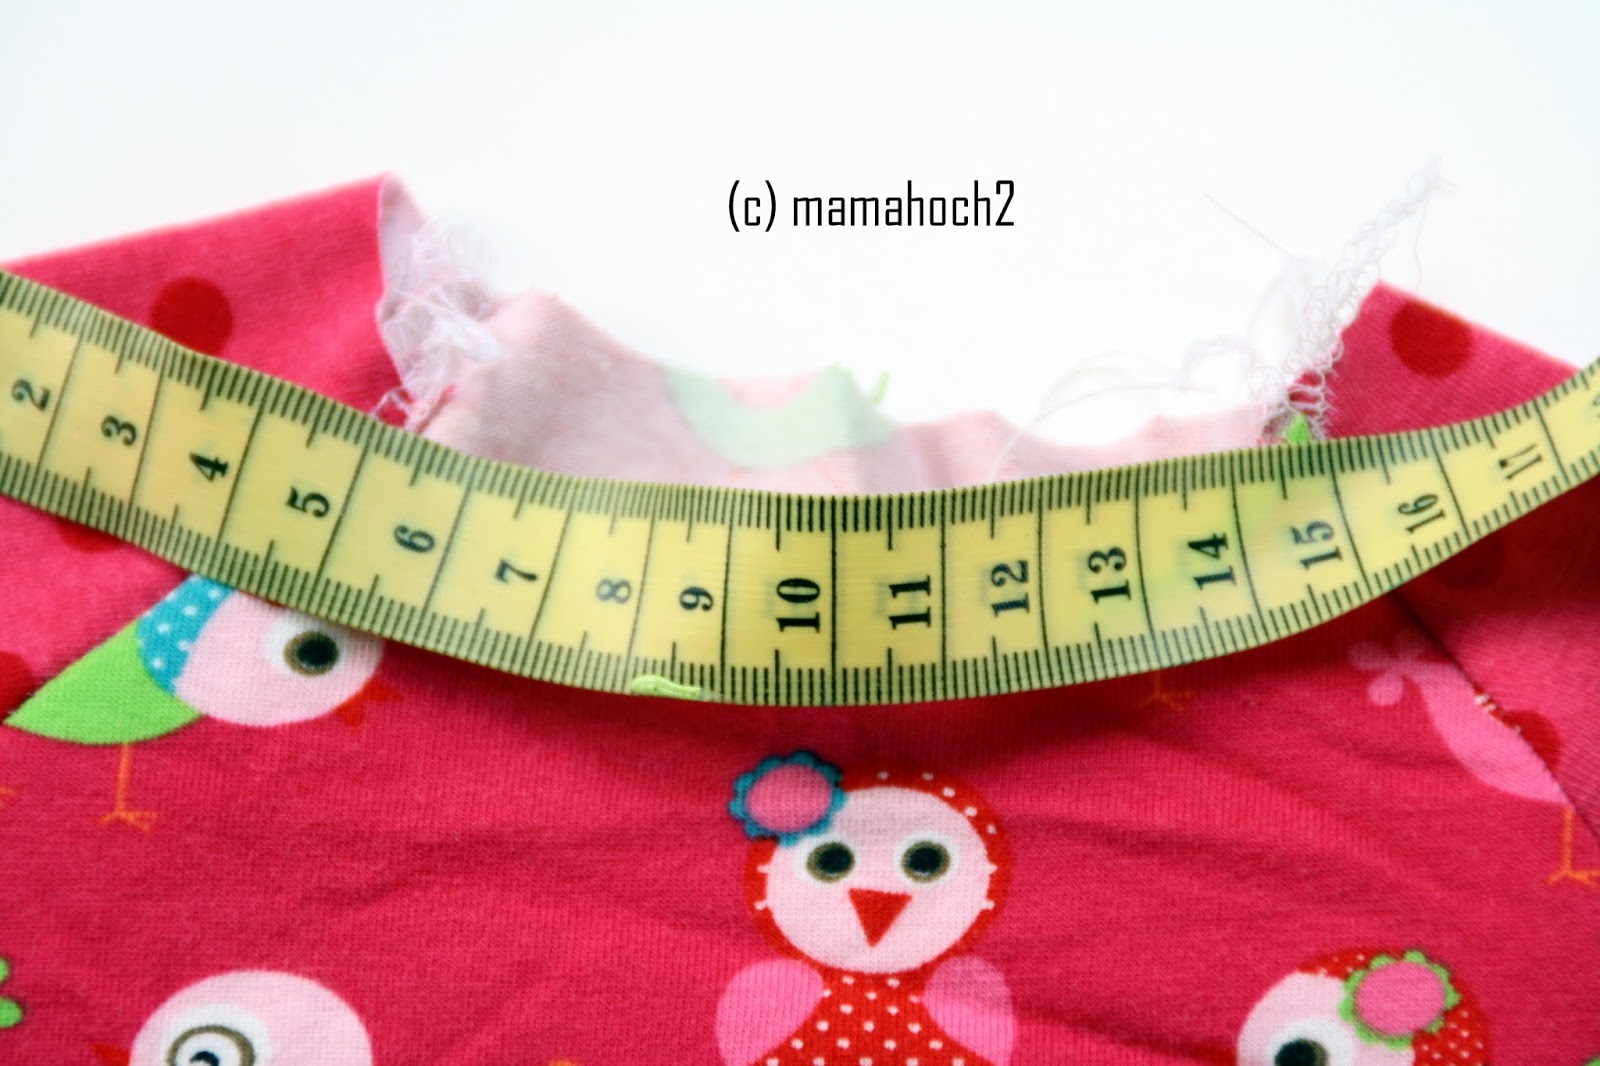
Now pin the cuff on the neckline, like you did for the hem. The seam of the cuff should be pinned at the back center.
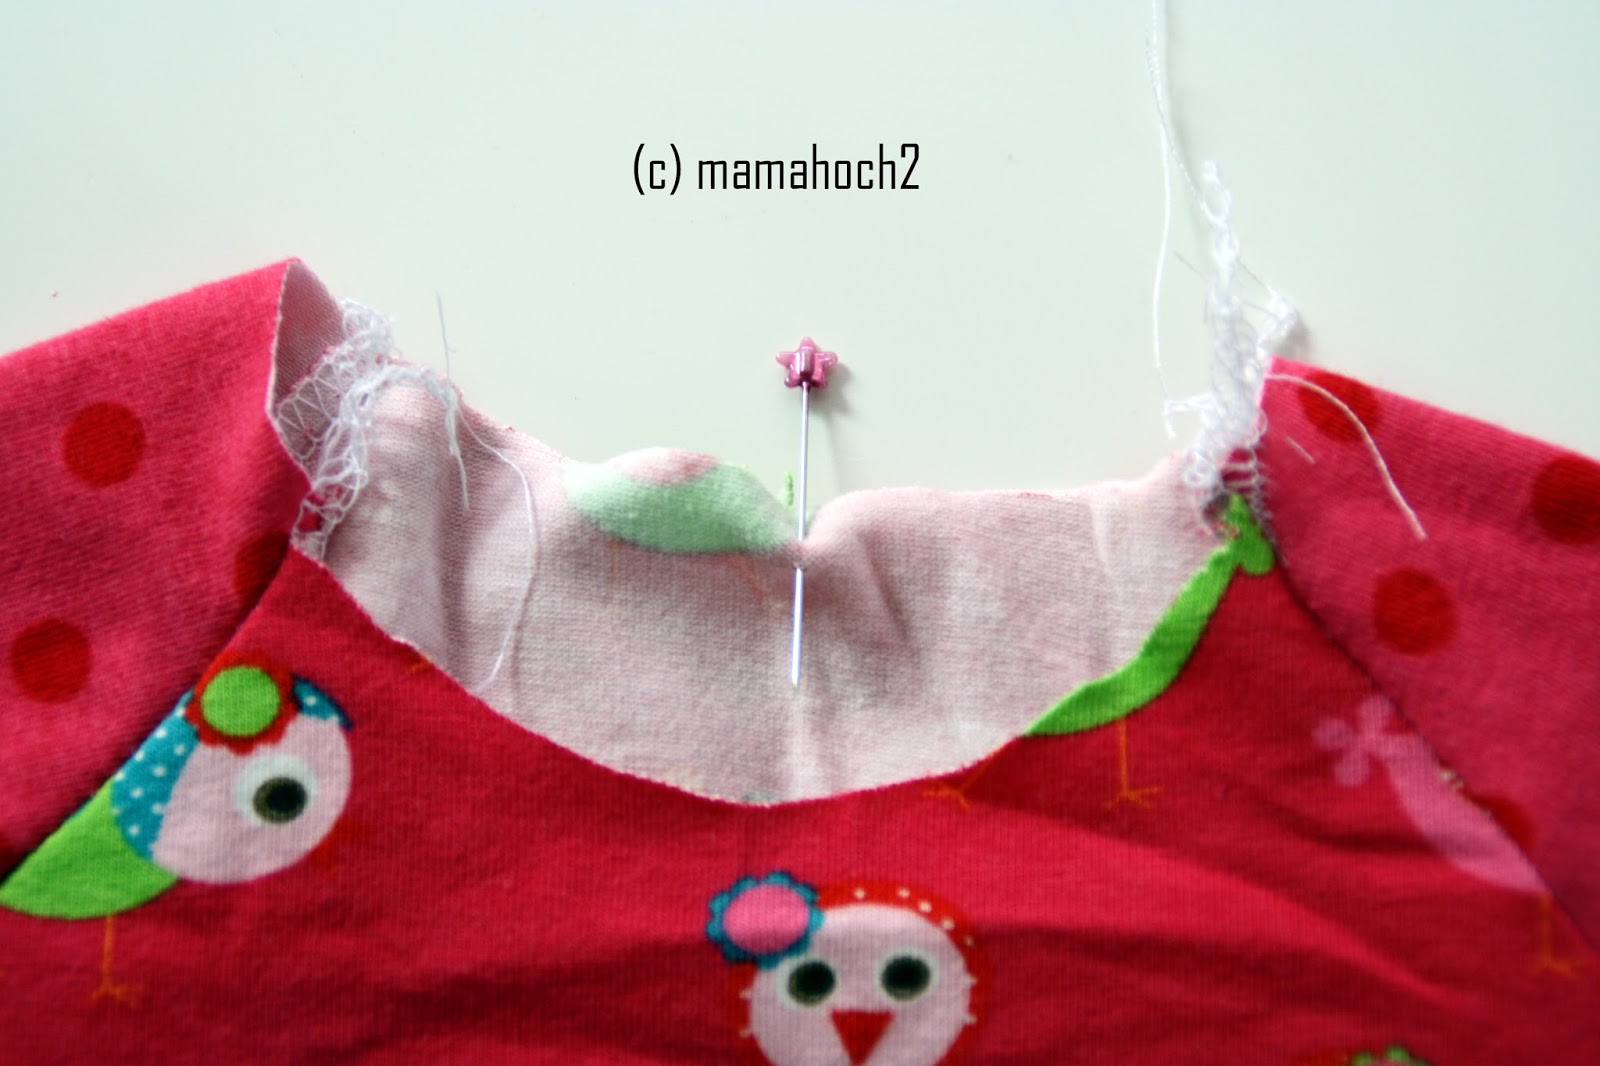
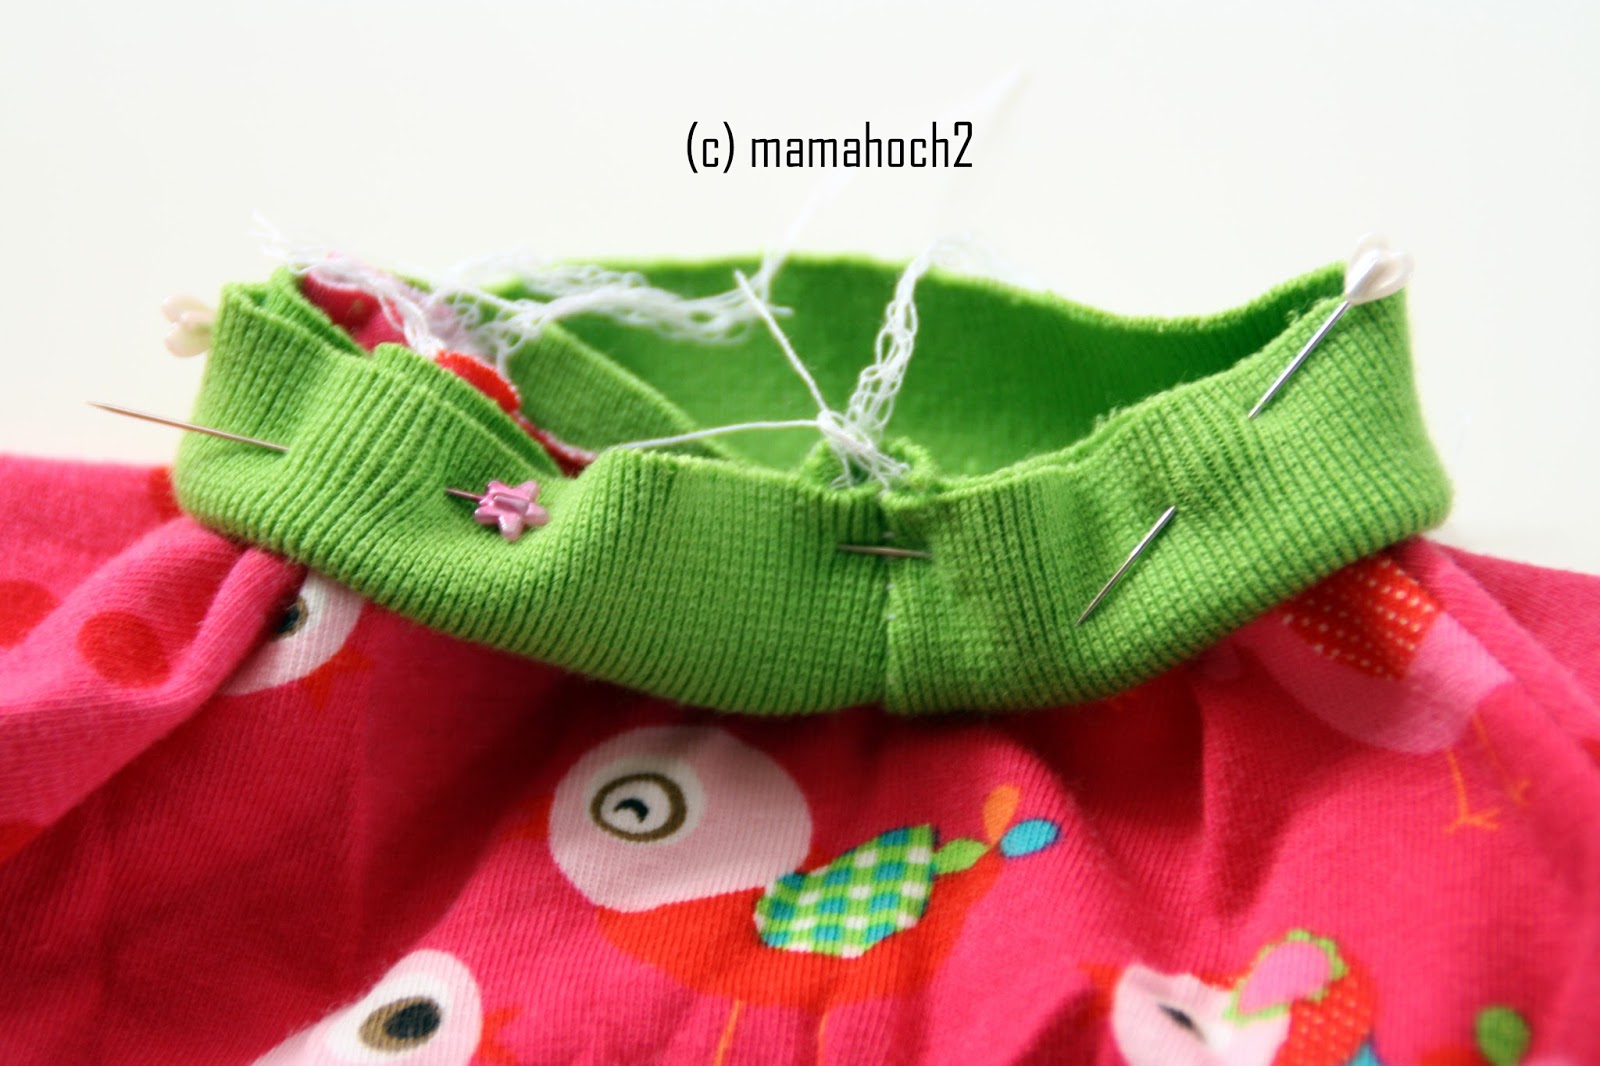 Always remember to stretch the cuff only, not the Jersey when you sew it.
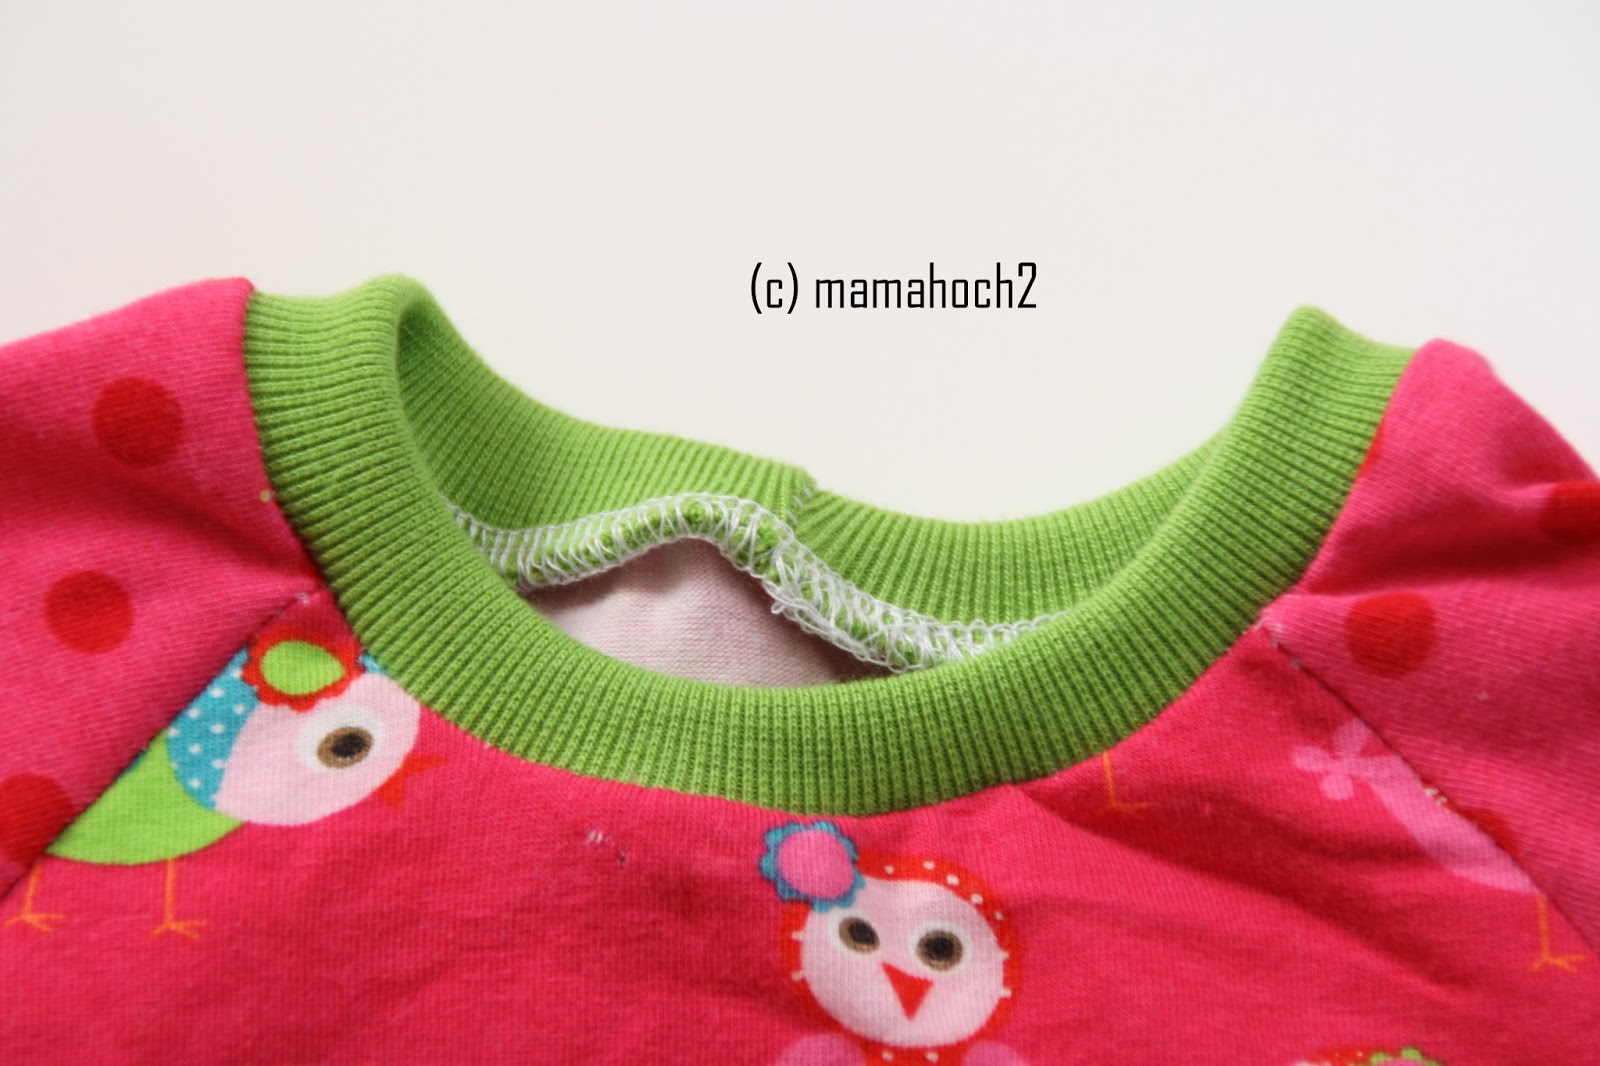
Cuff for the sleeves
Calculated the two cuffs for the sleeves with the same formula you used for the neckline cuff. Choose the height with 4 cm as well. Sew the last to cuffs on the sleeves.
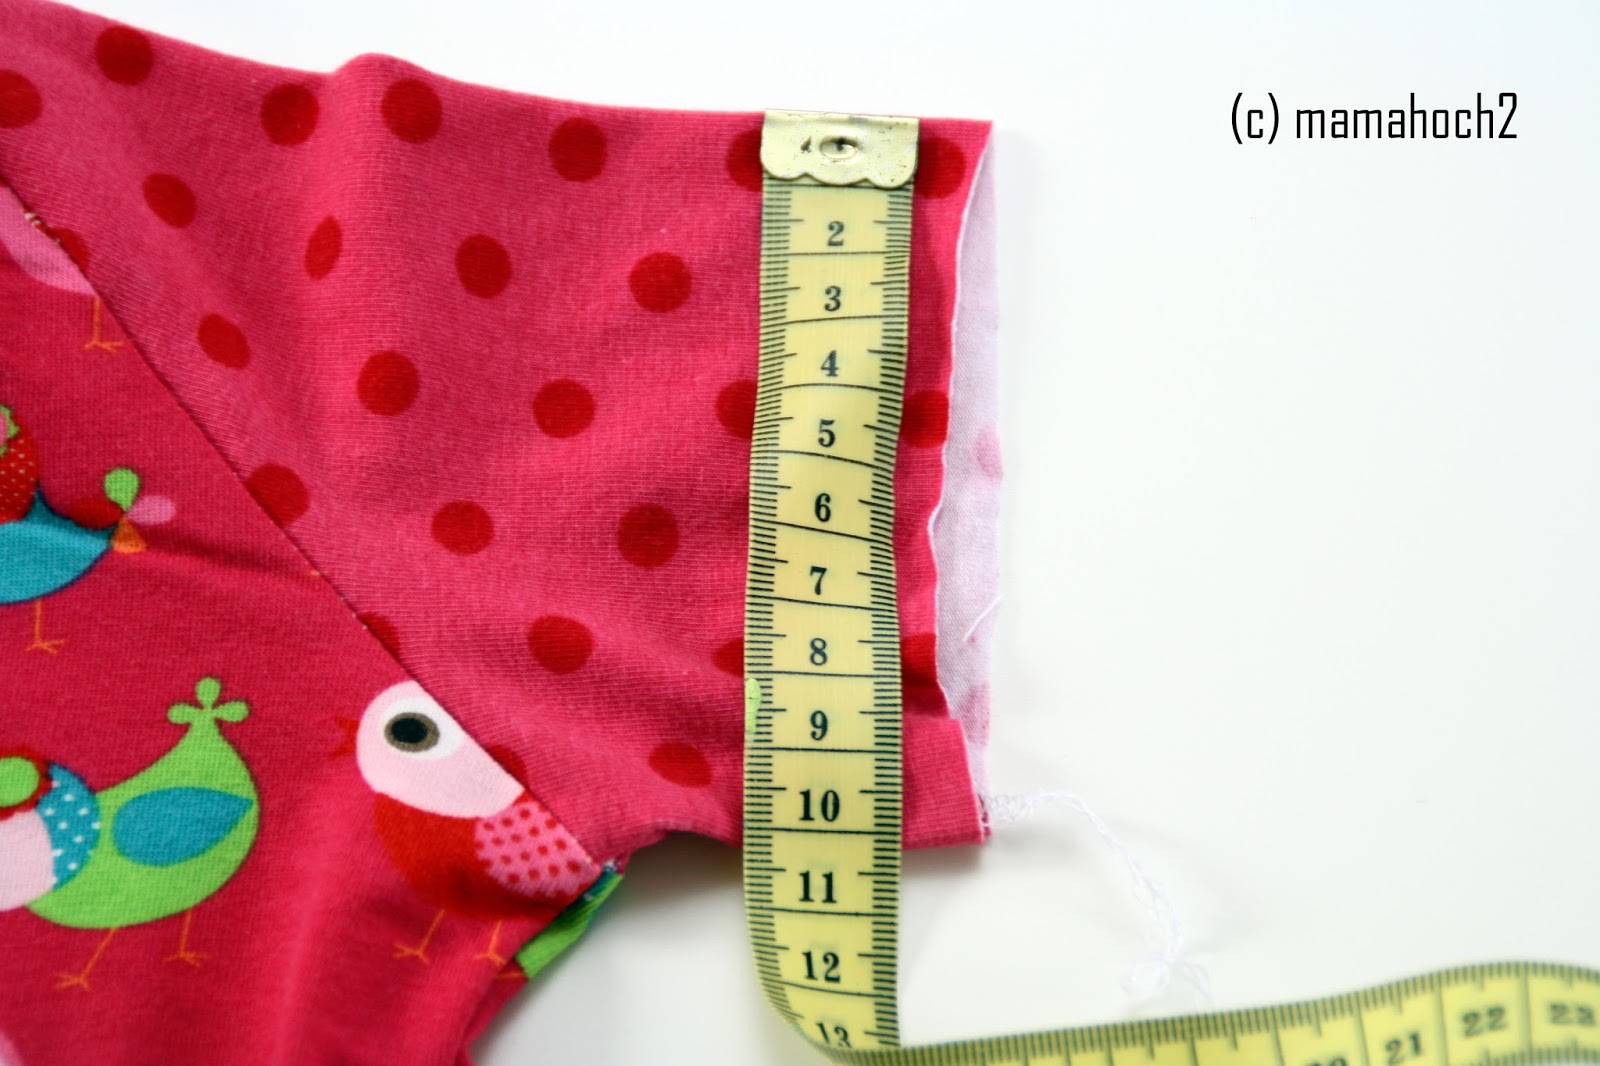
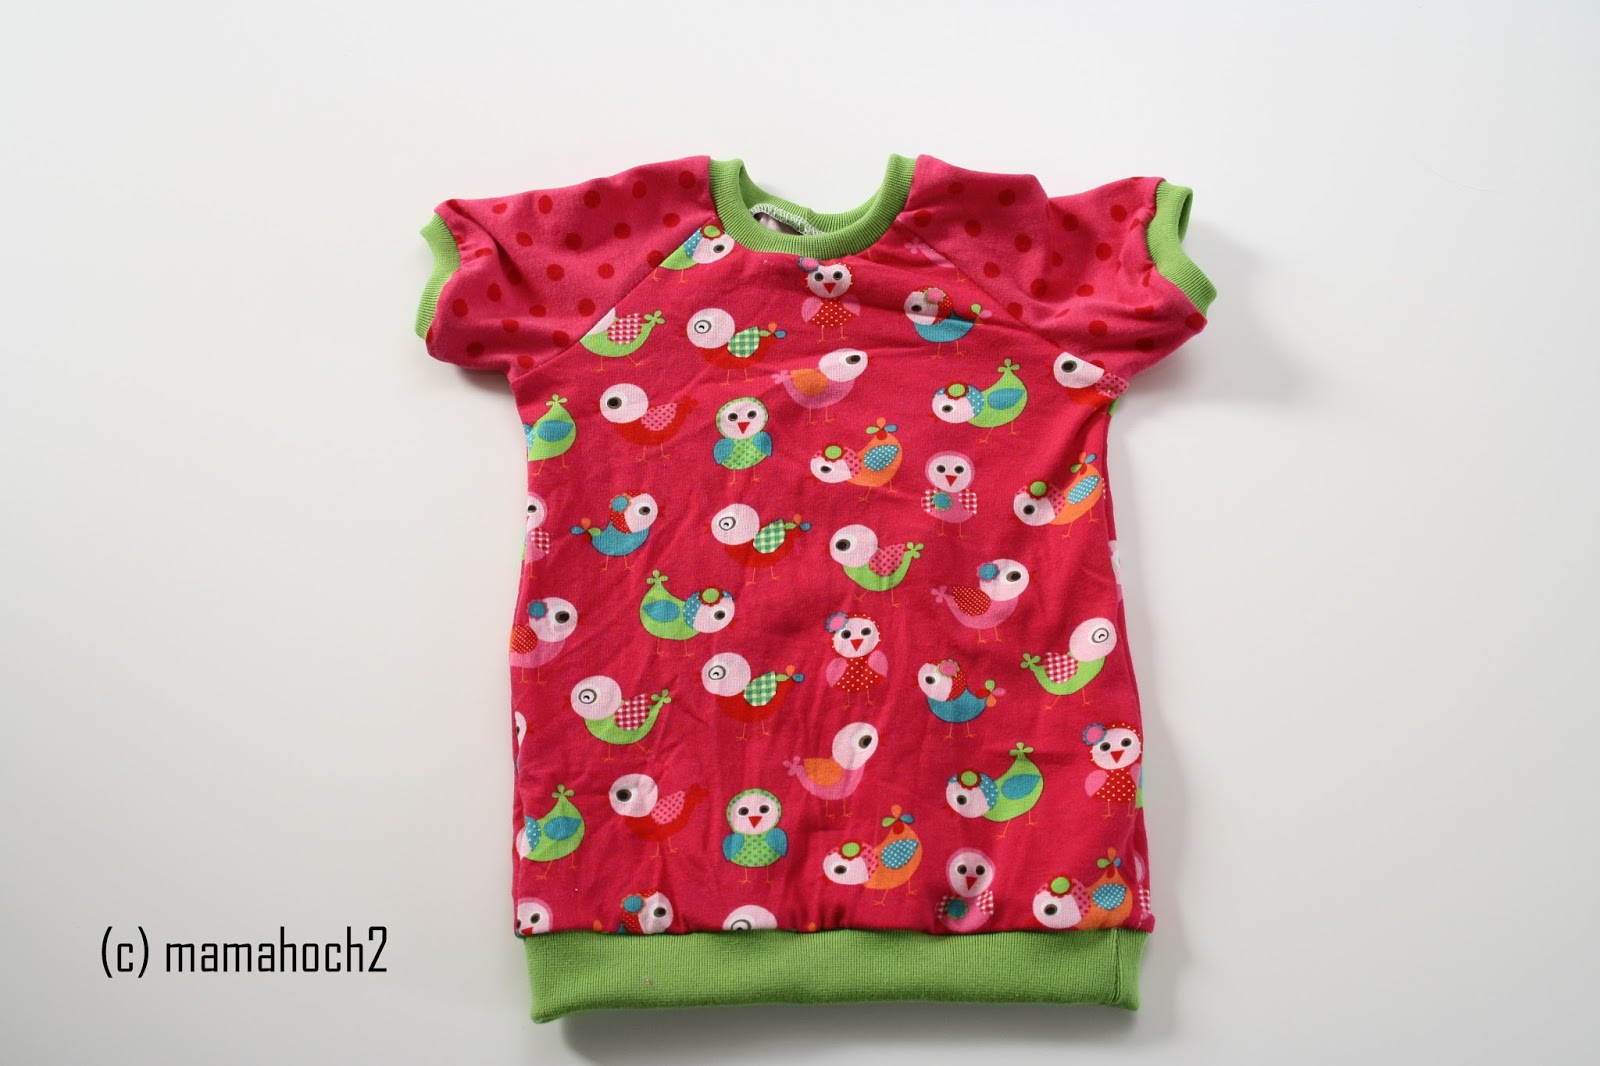
Now, your shirt is done. Congratulations! 🙂
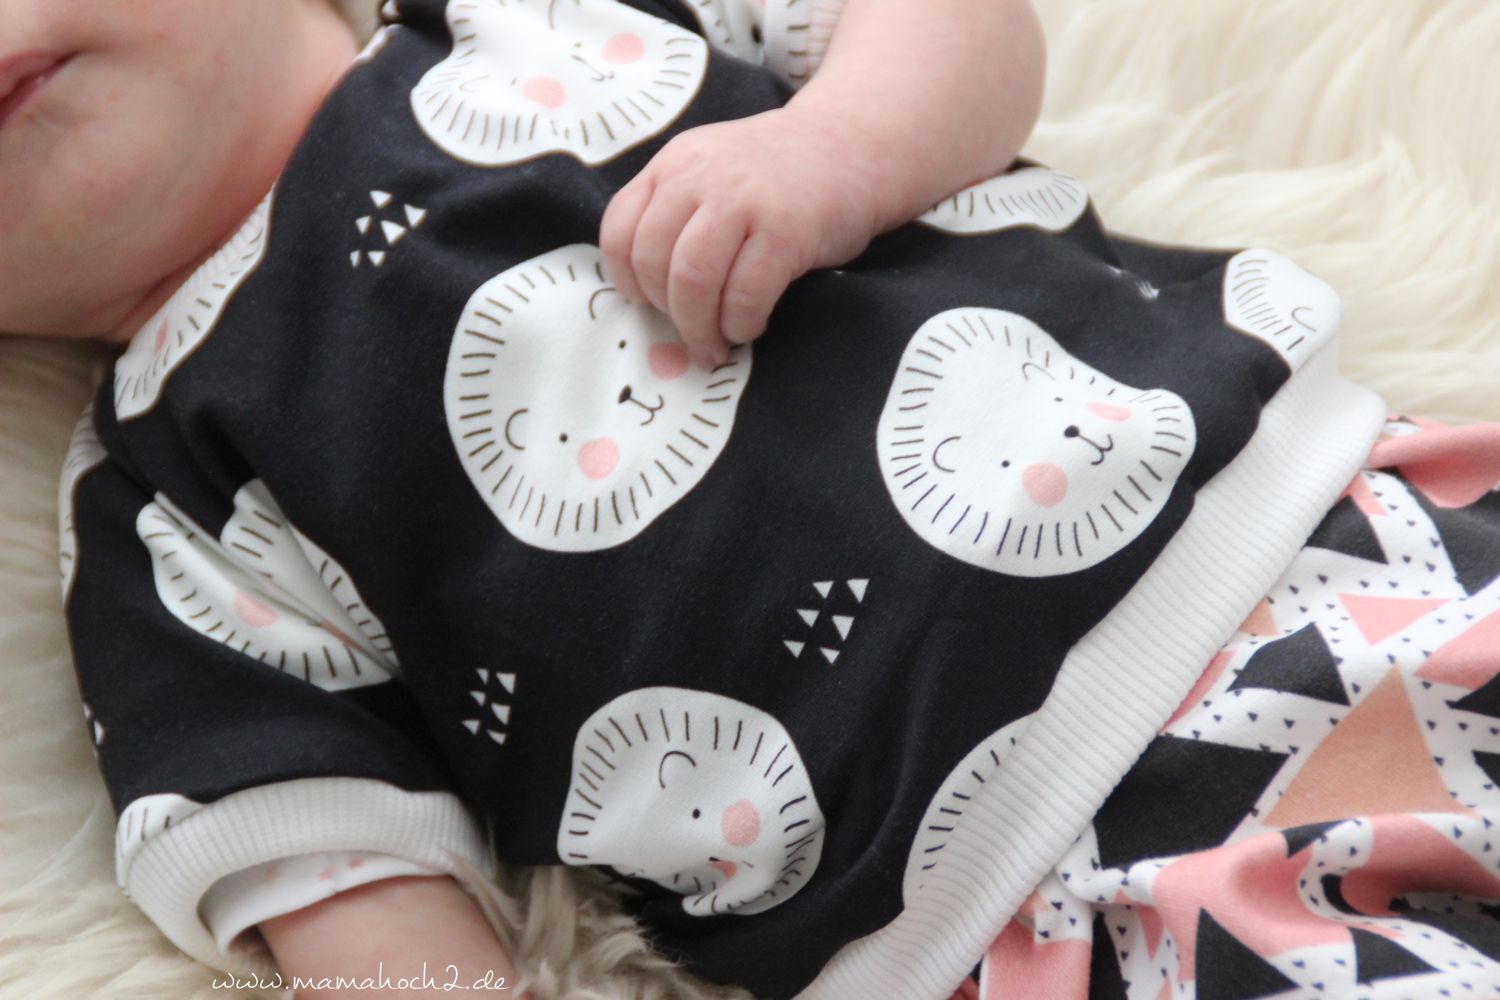
A side note: English is not my first language. I tried to translate the instructions as best as I could. So if there are any ques-tions or suggestions regarding my instructions, please leave your comments. I’ll modify instructions accordingly.
Otherwise enjoy the sewing! 🙂
